
Attaching Photos and Files
Put a BBT chart, a tongue photo or a referral letter on a client's record: attach it to a field in a consultation note, snap it with your phone, or upload it to their profile, then compare photos across visits in Files.
Attaching Photos and Files
A BBT chart, a tongue photo or a referral letter from a GP can all go on a patient's record. You can attach a file to a field in a consultation note, or upload it to the client's profile. Either way, it ends up in the client's Files list.
Step 1: Attach a file to a consultation note
Open the consultation and hover over the field the file belongs with, such as Examination. Click the + in the field's bottom-right corner. On a phone or tablet the + is always showing. Choose Upload file to pick one from your computer, or Take photo with phone to use your phone's camera (Step 2).
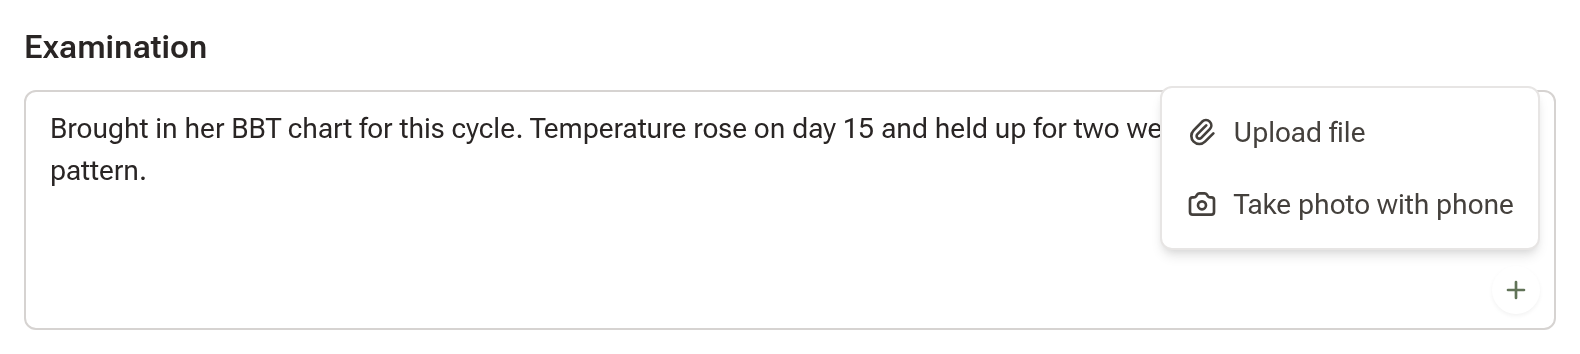
The file appears as a thumbnail under the field. Click it to open it full size, where a photo that came in sideways can be rotated. To take a file off, hover over the thumbnail and click the red ×.
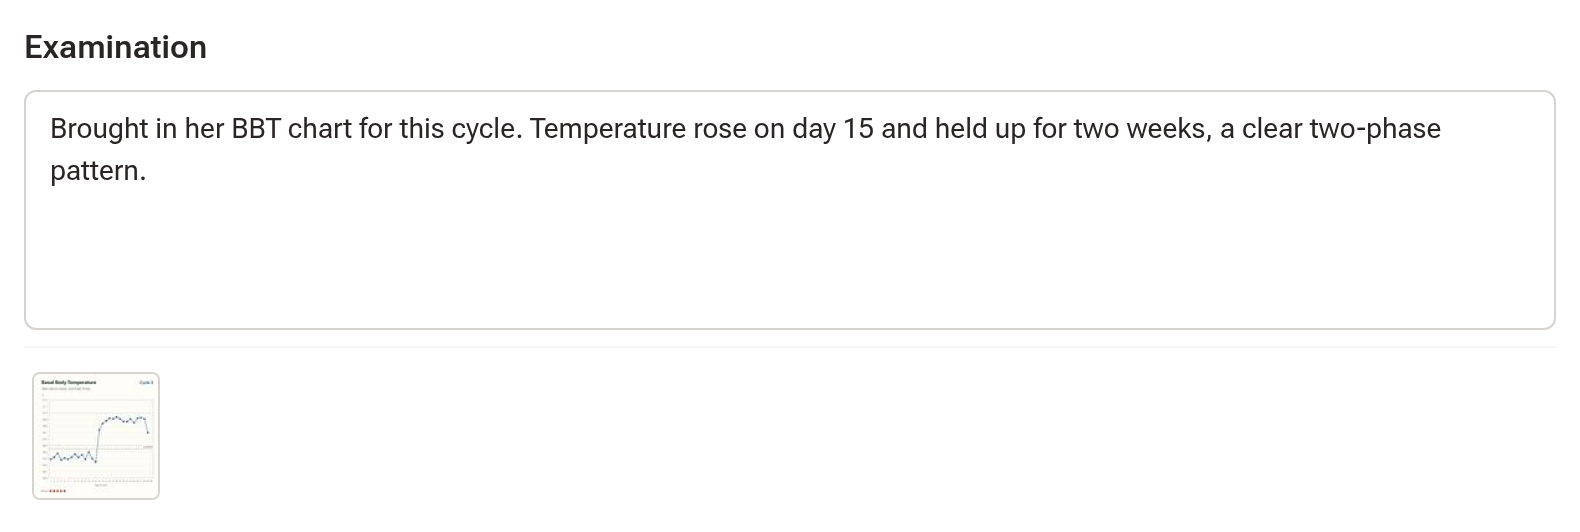
You can attach files while the note is a draft. Once a note is finalised it's locked, so a chart the patient brings in later goes on their profile instead (Step 3).
Step 2: Take the photo with your phone
Take photo with phone shows a QR code. Scan it with your phone's camera and a Take Photos page opens, with no sign-in needed. Tap Enable Camera and take the photo, or tap Upload File to choose one from your camera roll. Then tap Upload All Photos.
Keep the QR code window open on your computer and the photos appear under the field within a few seconds. The code works for two hours.
Step 3: Upload to the client's profile
Some files don't belong to one visit: a referral, pathology results, or a chart that arrives after the note is finalised. For those, open the client's profile and click Files in the left-hand menu. Click Upload Documents, drag the files onto the box or click Browse Files, add a description if you like, and click Upload Documents. Scan to Upload does the same from your phone's camera; refresh the page once you've uploaded.
You can upload PDF, Word, Excel, CSV, image (JPG, PNG, GIF, HEIC, WebP) and text files, up to 10MB each. iPhone HEIC photos are converted to JPEG automatically.
Step 4: Find and compare them
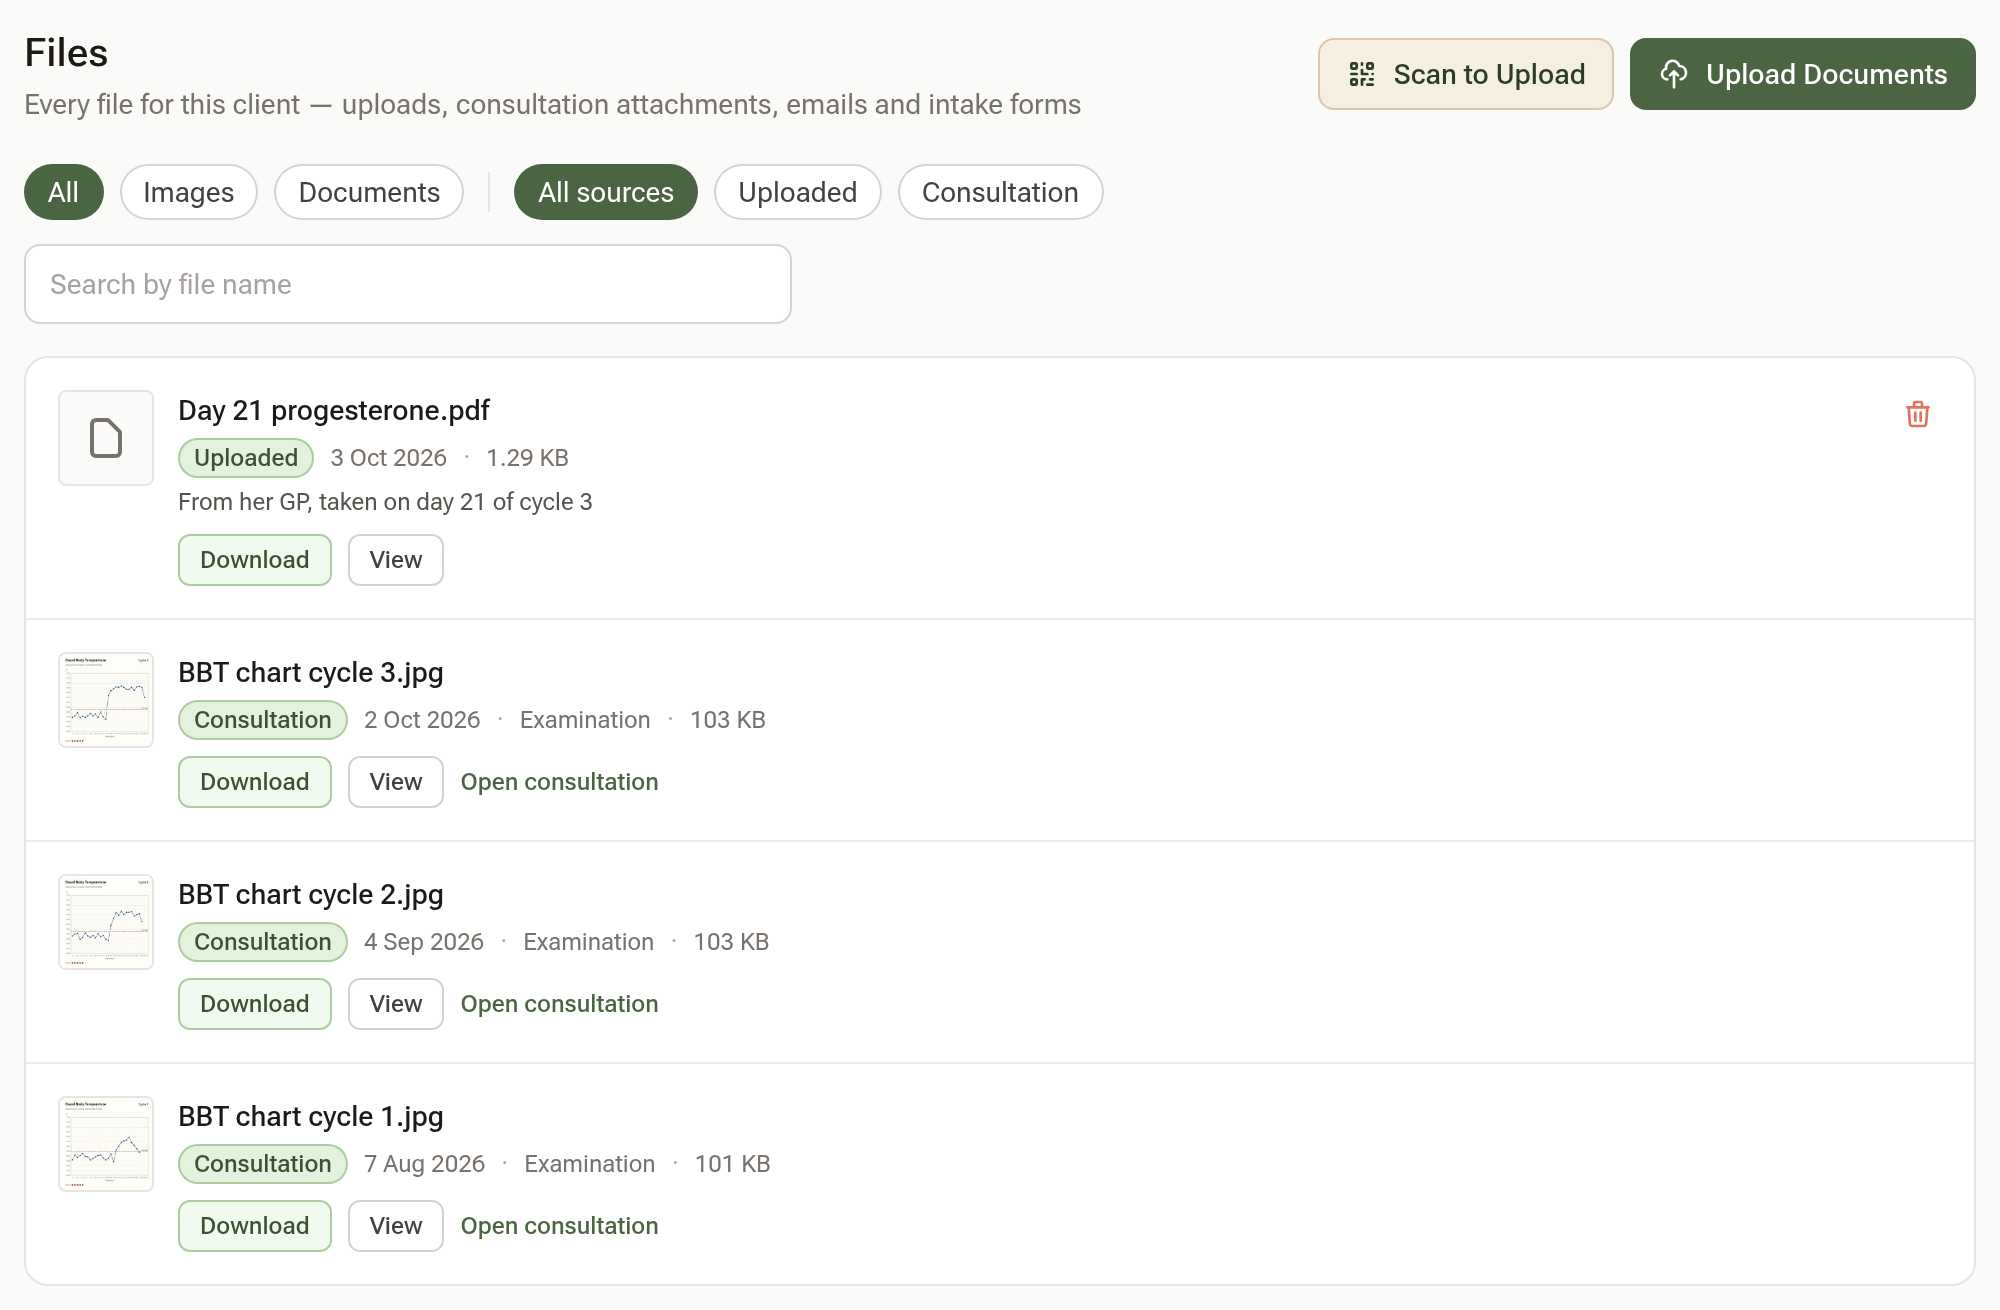
Files lists everything for that client, newest first:
- your uploads
- files attached to consultations
- email attachments
- files from intake forms
A chip on each row says where the file came from. A consultation file is dated by the visit and names the field it sits in.
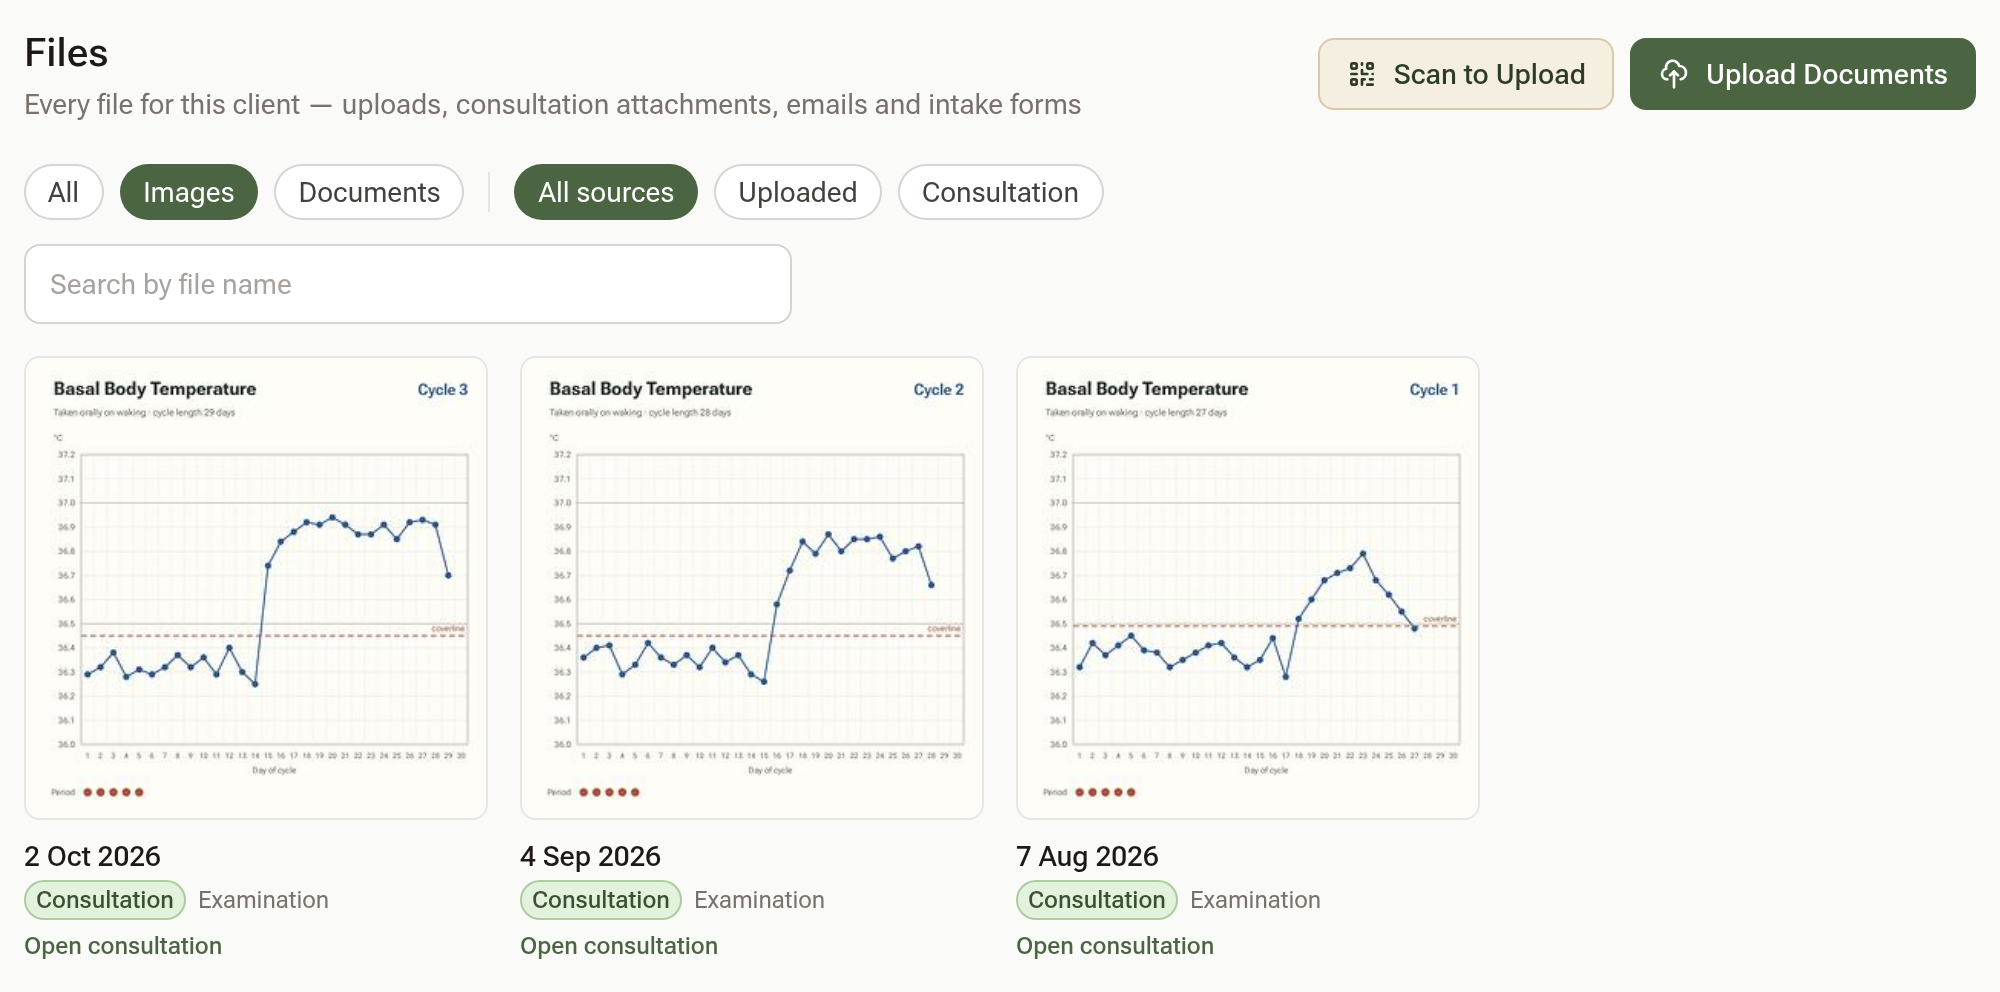
Click Images to see the photos as a grid captioned by visit date. That's the quickest way to lay three cycles of BBT charts side by side. Open consultation takes you to the note a photo came from.
Tips:
- Only files uploaded on the Files page can be renamed or deleted there. A consultation file stays with its note.
- The consultation list shows a paperclip and a count on any visit with files attached.