
Customising Your Consultation Templates
Copy a built-in consultation template and make it your own: rename and reorder fields, add text boxes, tick boxes, checklists and diagrams, pre-fill default text, and archive a template you no longer use.
Customising Your Consultation Templates
Daobook comes with four consultation templates. Copy one and change its fields, and your notes follow the way you already work — your headings, your order, your checklists.
Step 1: Open your templates
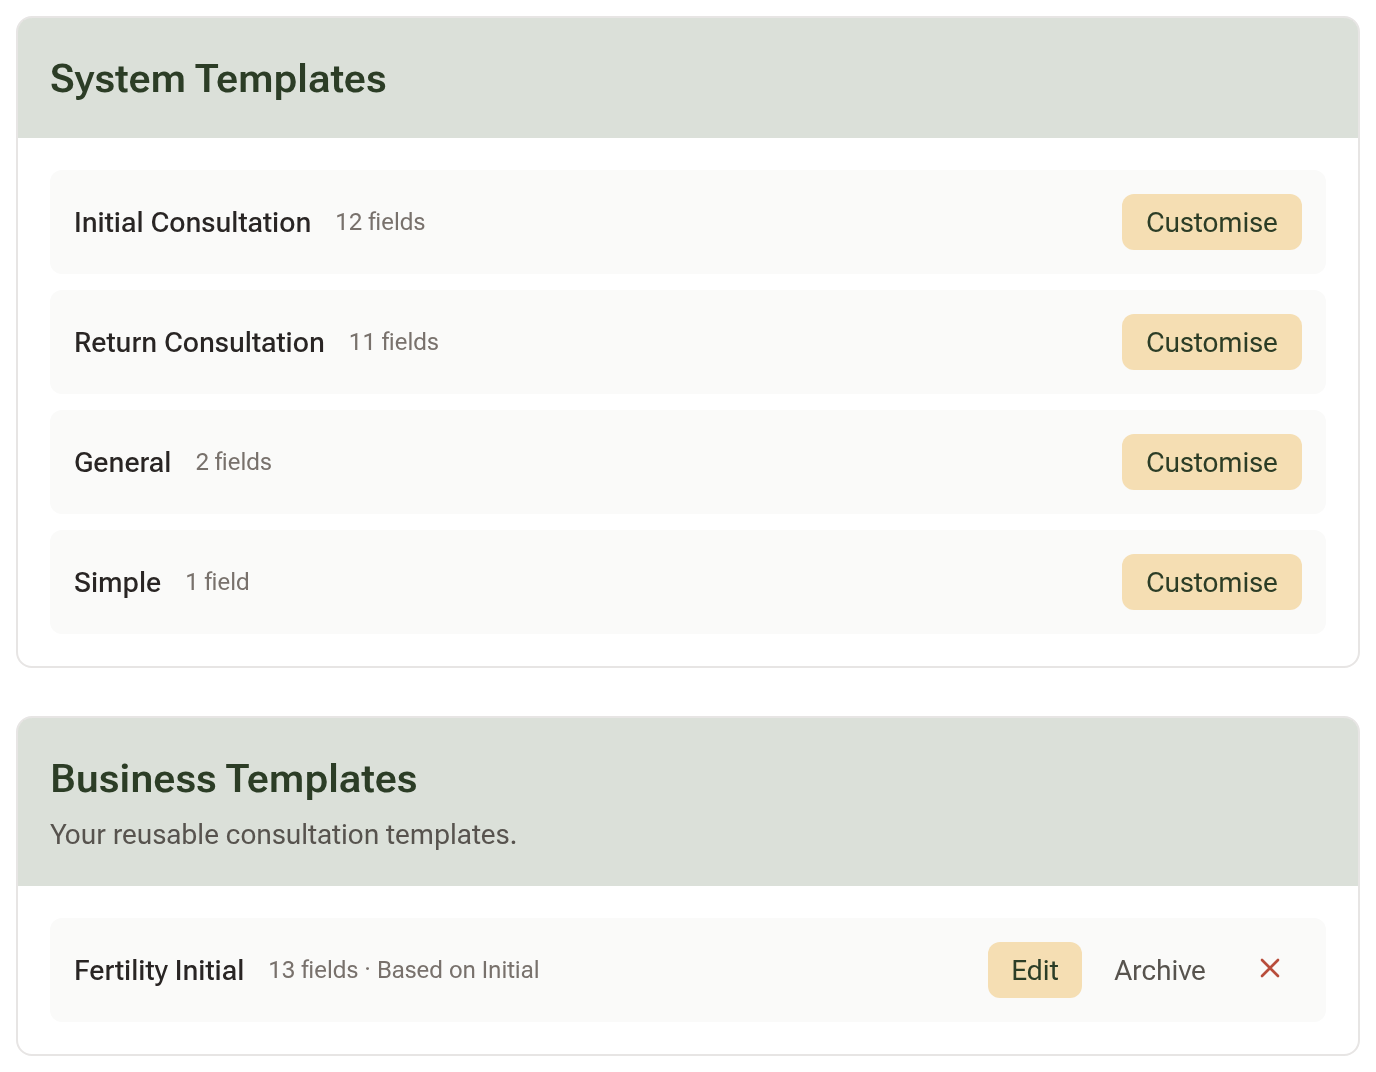
Go to Settings, open the Communications tab and click "Consultation Templates". You'll see:
- System Templates — the four built-in ones: Initial Consultation, Return Consultation, General and Simple.
- Business Templates — the templates your practice has made.
- My Templates — your personal templates. This list only appears in practices with more than one practitioner.
Step 2: Make your own copy
System templates can't be edited directly. Click "Customise" next to the one closest to how you work. Daobook copies it — an Initial Consultation becomes Initial Consultation (Custom) — and opens the copy for editing.
Step 3: Name it and choose what the note shows
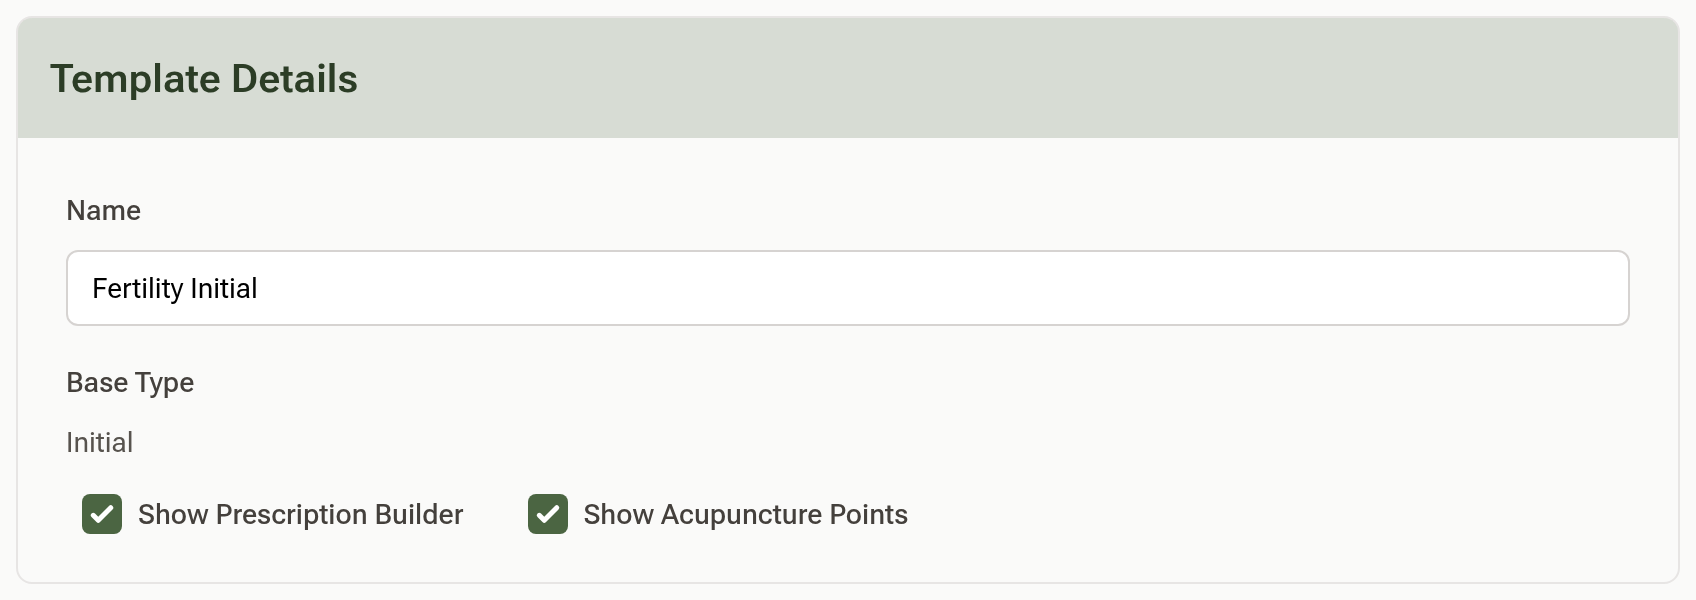
Under Template Details, give the template a Name that says what it's for, such as Fertility Initial or Pain Follow-up. Then tick or untick Show Prescription Builder and Show Acupuncture Points to decide whether those sections appear in the note.
Step 4: Arrange the fields
Form Fields lists the Main Fields and the Treatment Fields in the order they appear in the note.
- Click the arrows on the left of a field to move it up or down.
- Click ½ to make a field half width, so two fields sit side by side.
- Type over a label to rename the field.
- Click Remove to take a field out of new consultations. Consultations that already recorded it keep it.
Step 5: Add your own fields
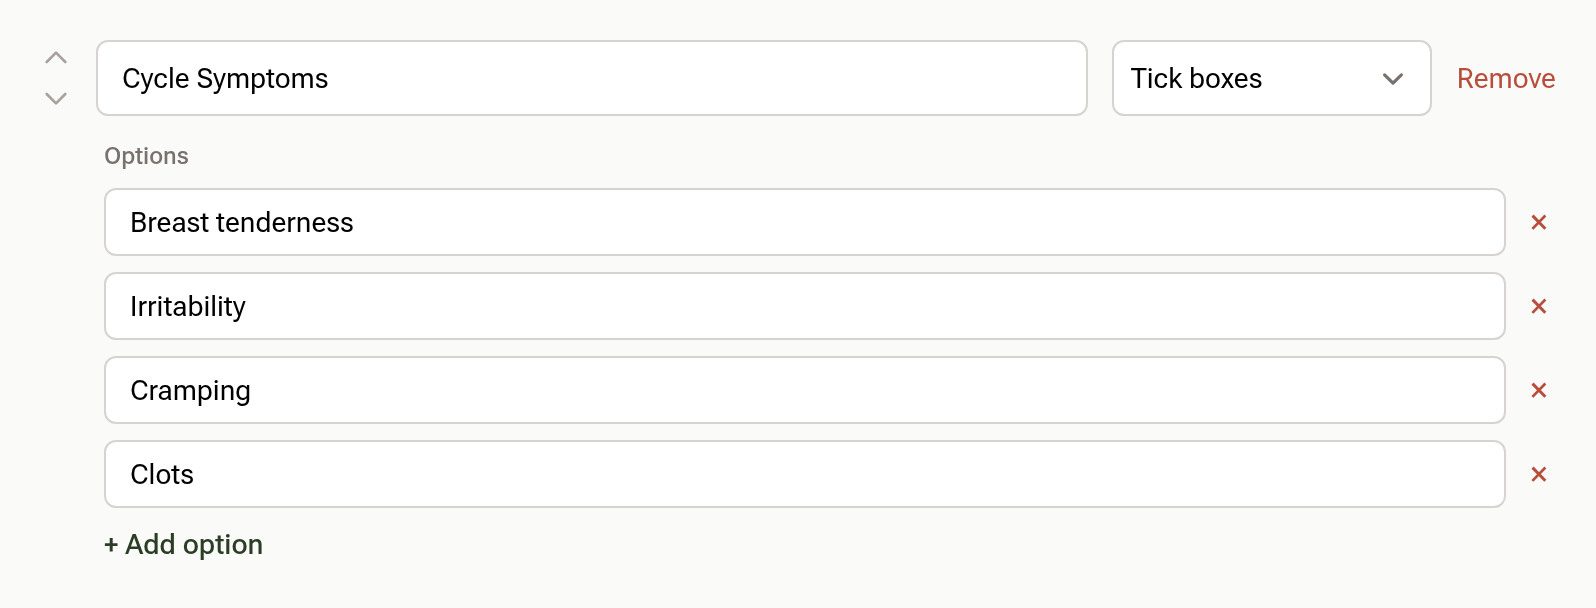
Click "+ Add Custom Field" under either section, type a label, and choose its type:
- Rich text — a free-text box.
- Single tick box — one checkbox, such as Consent given.
- Tick boxes — a checklist. Click "+ Add option" for each choice.
- Diagram — places the body chart, the tongue diagram or one of your own diagrams inside the note. See Your Own Diagrams and Diagrams in Templates.
Add as many fields as you need.
Step 6: Add default text (optional)
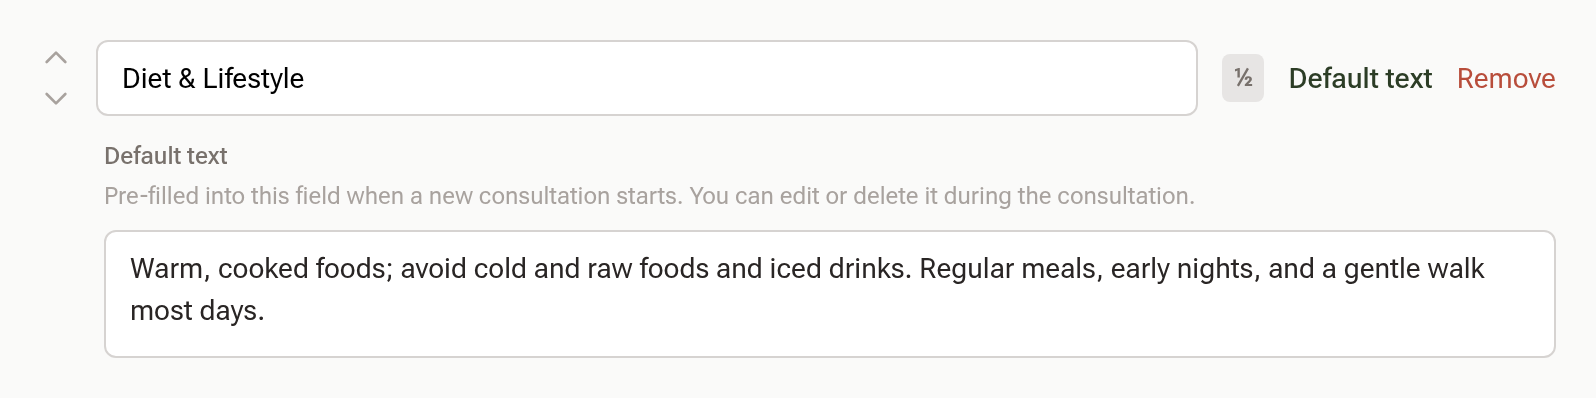
On a rich-text field, click "Default text" to pre-fill it whenever a new consultation starts — a standard diet and lifestyle paragraph, say. You can edit or delete it during the consultation. Tick boxes and diagrams have no default text.
Step 7: Save
Click "Save Template".
In a practice with more than one practitioner, owners and admins also see Availability on the template. Keep personal means only you can use it; Share across business makes it available to everyone at your practice. Only owners and admins can edit a shared template.

Step 8: Use it
In a consultation, choose your template from Template: at the top right of the note.
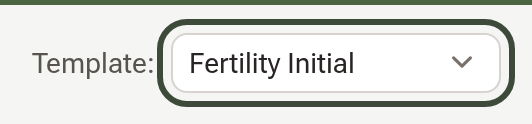
To have it open automatically, set it as the Default Consultation Template on an appointment type — see Step 4 of Setting Up Your Calendar.
Retiring a template
Click "Archive" on a template you no longer use. It leaves the template picker for new consultations, and every consultation already written with it keeps it. Archived templates sit at the bottom of the list with a Restore button. The × deletes a template outright, and only works on one that no consultation has used.
Tips:
- Changing a template doesn't restructure notes already written with it.