
Bringing Your Data Across from Another System
Move your clients, appointments and notes from Cliniko, Nookal, Halaxy, Zanda, Jane or almost anywhere else: send a migration request, follow the export instructions you get back, and upload the files.
Bringing Your Data Across from Another System
Moving to Daobook does not mean retyping your patient list. You tell us which system you are leaving, we reply with exact export instructions, you upload the files, and the Daobook team runs the import.
The systems named along the way — Cliniko, Nookal, Halaxy, Zanda and Jane — are the common ones we are set up for, but they are not the limit. Our import capabilities are broad, and a complimentary custom import can usually bring most things across from most places: another practice system, a website booking tool, a spreadsheet. If yours is not listed, choose Not on the list and tell us what you have.
Only a clinic owner or admin can import. If you have more than one location, switch to the right clinic first — uploads always land in the clinic you are working in. And if other practitioners will have records in the import, add them to your clinic before you upload, so their appointments and notes can be assigned to them.
Step 1: Send a migration request
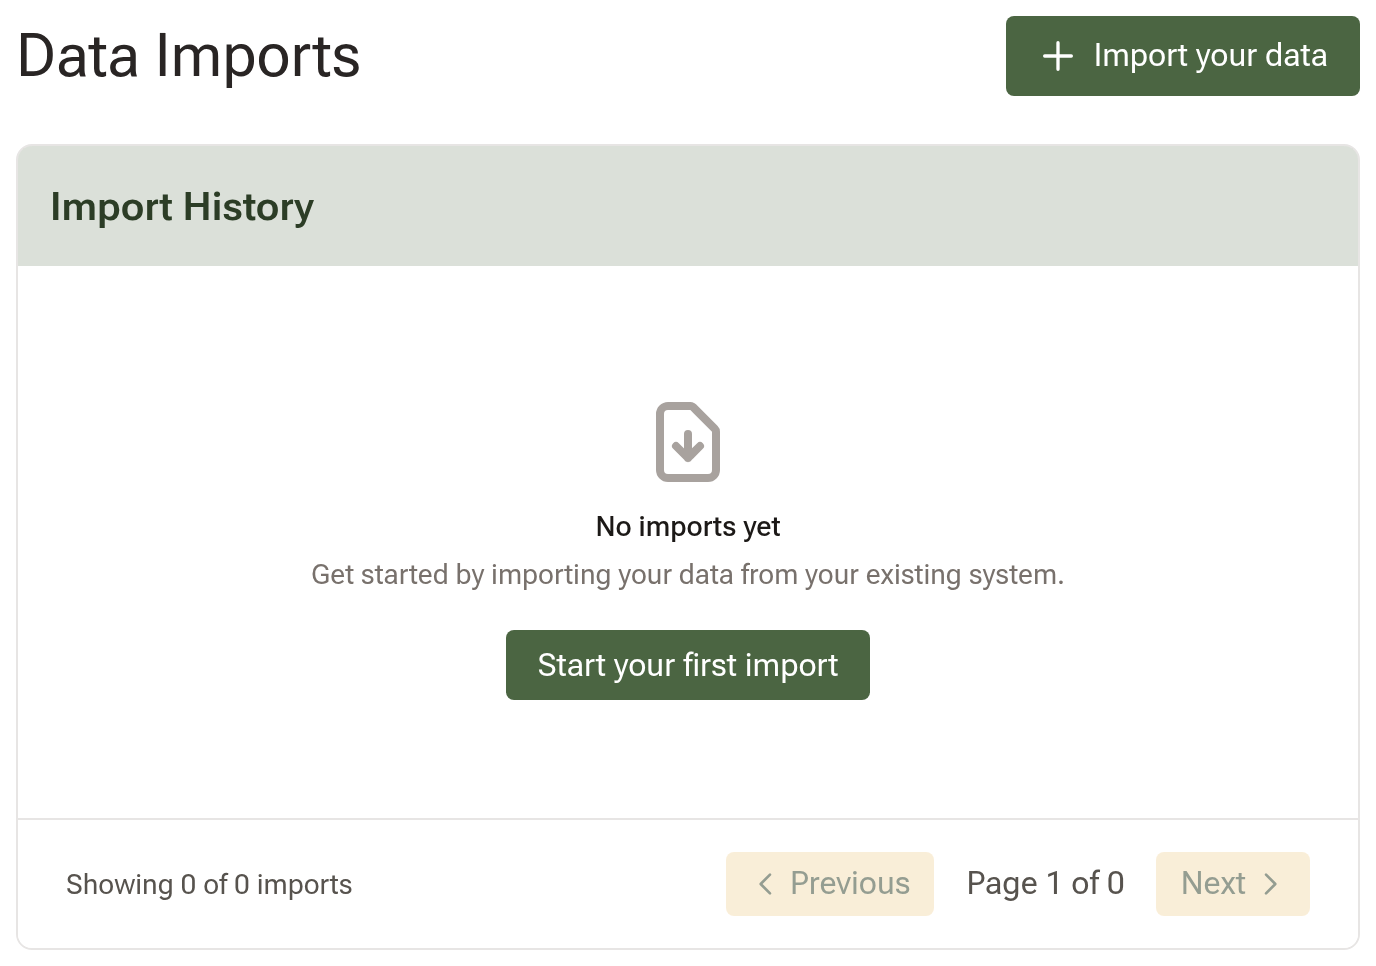
Go to Settings, open the Integrations tab and click "Import Data" under Data Migration. The first time in, the page is empty — click "Import your data".
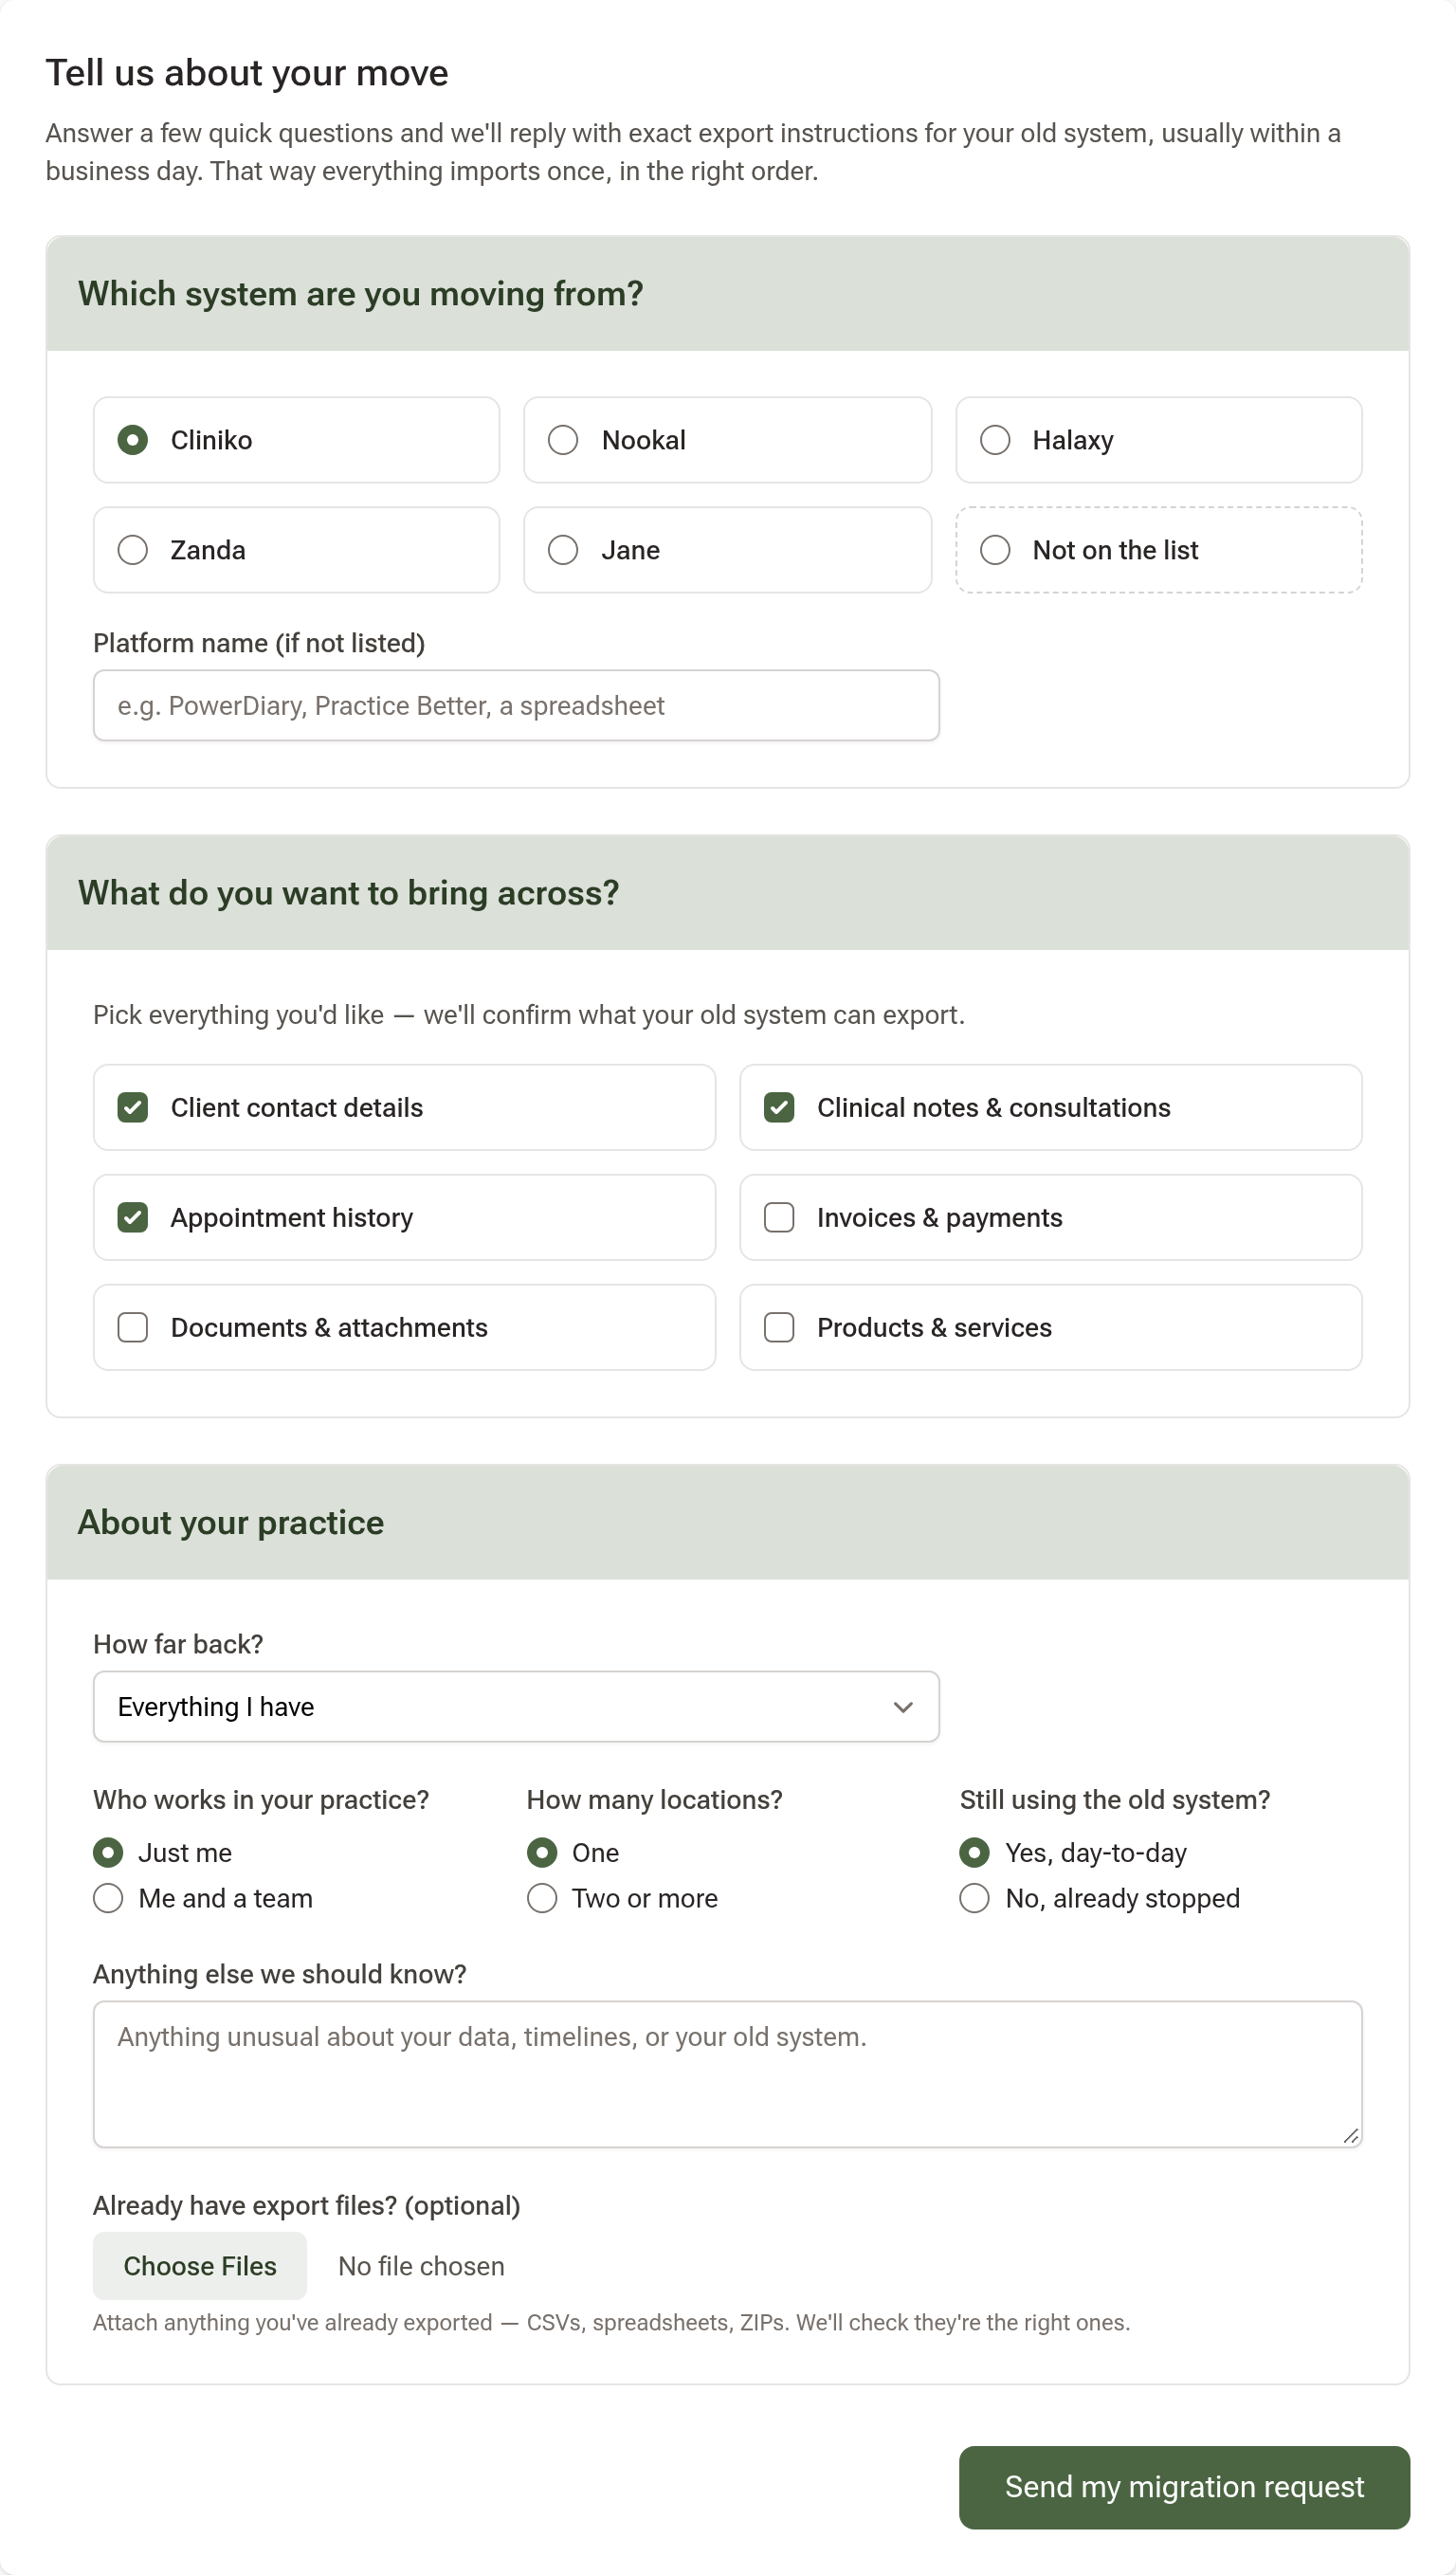
Answer the short questionnaire: which system you are moving from, what you want to bring across, how far back, whether you work alone or with a team, and whether you are still using the old system day-to-day. If you already have export files, attach them here. Click "Send my migration request".
We reply by email, usually within a business day, with the exact export steps for your old system and the order to upload the files in. The reply also appears in your support messages in the app. Until your first import lands, the Import Data page shows "Migration request sent" with the date.
Step 2: Export from your old system
Follow the instructions in the reply. Export each type of data as its own file and keep the files exactly as they were exported — don't open a Cliniko CSV in Excel and save it again, because Excel rewrites long patient IDs and those rows will fail.
Step 3: Upload the files
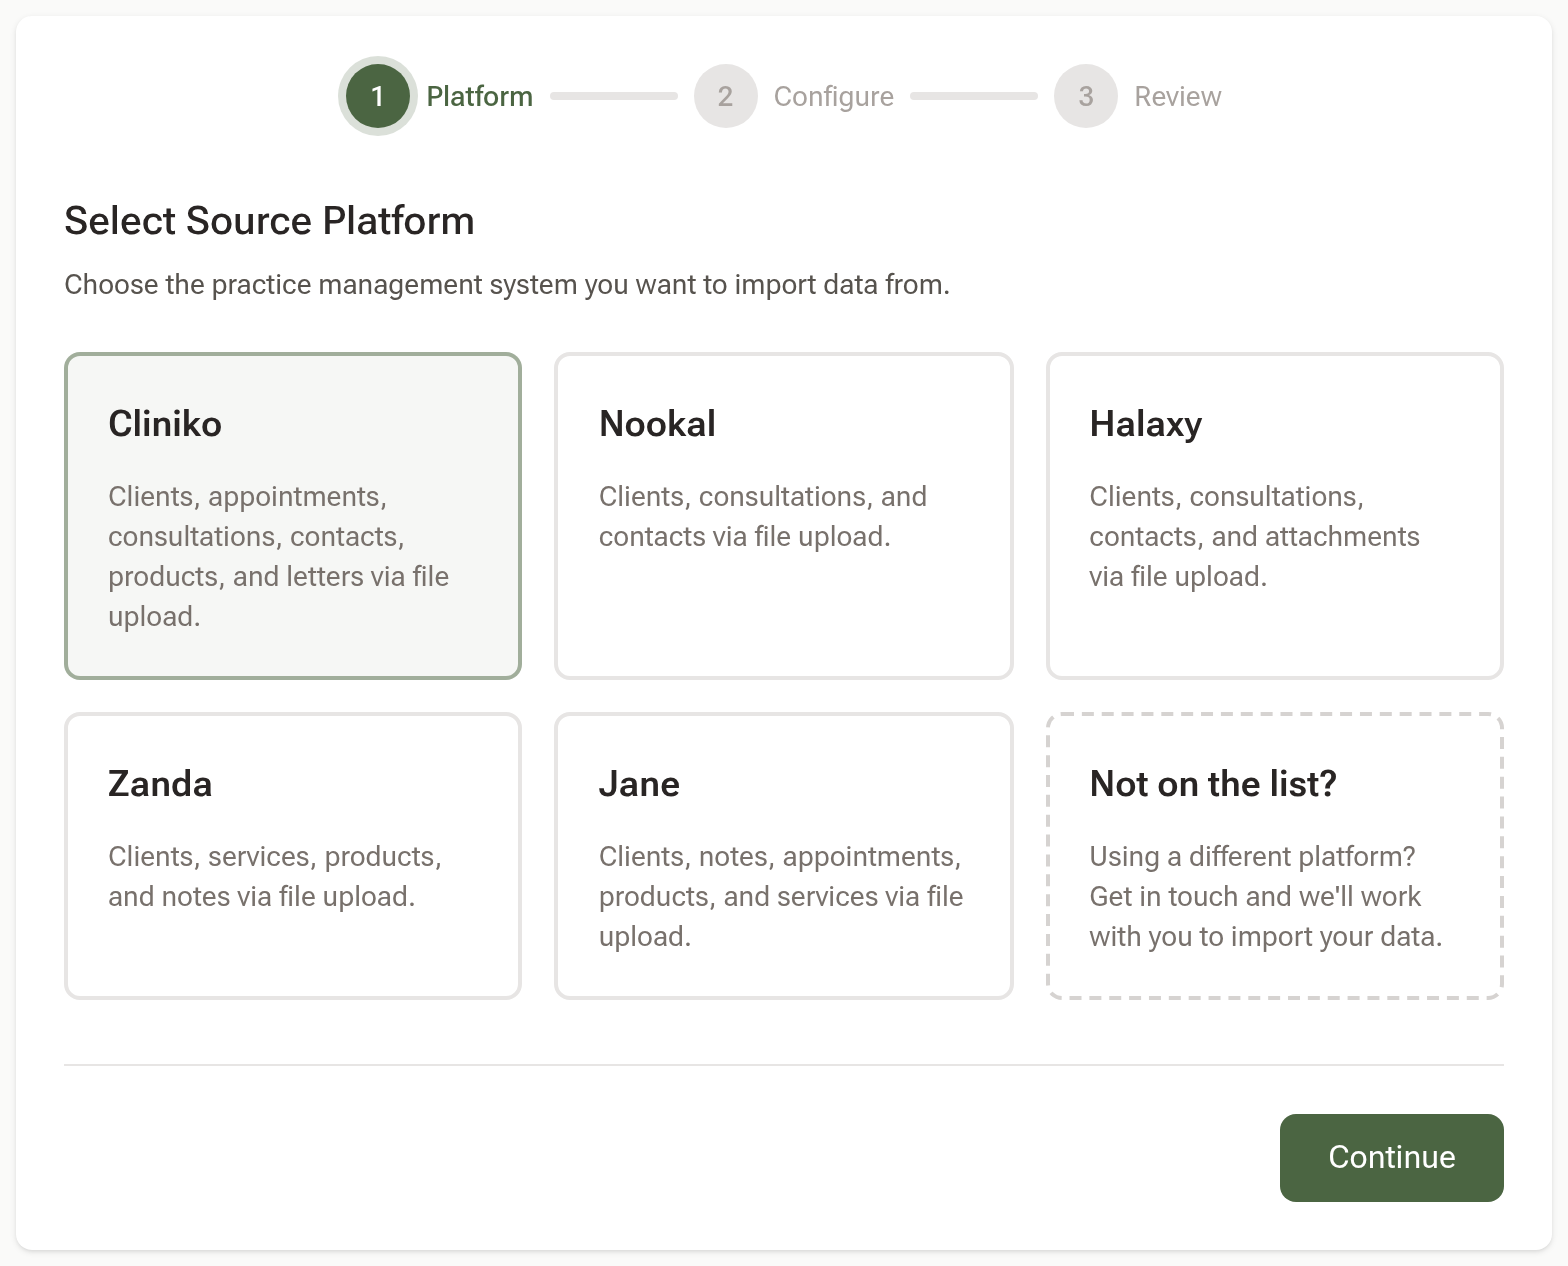
Back on the Import Data page, click "New Import". Choose your old system — or Not on the list? to describe it and upload whatever you have — and click "Continue".
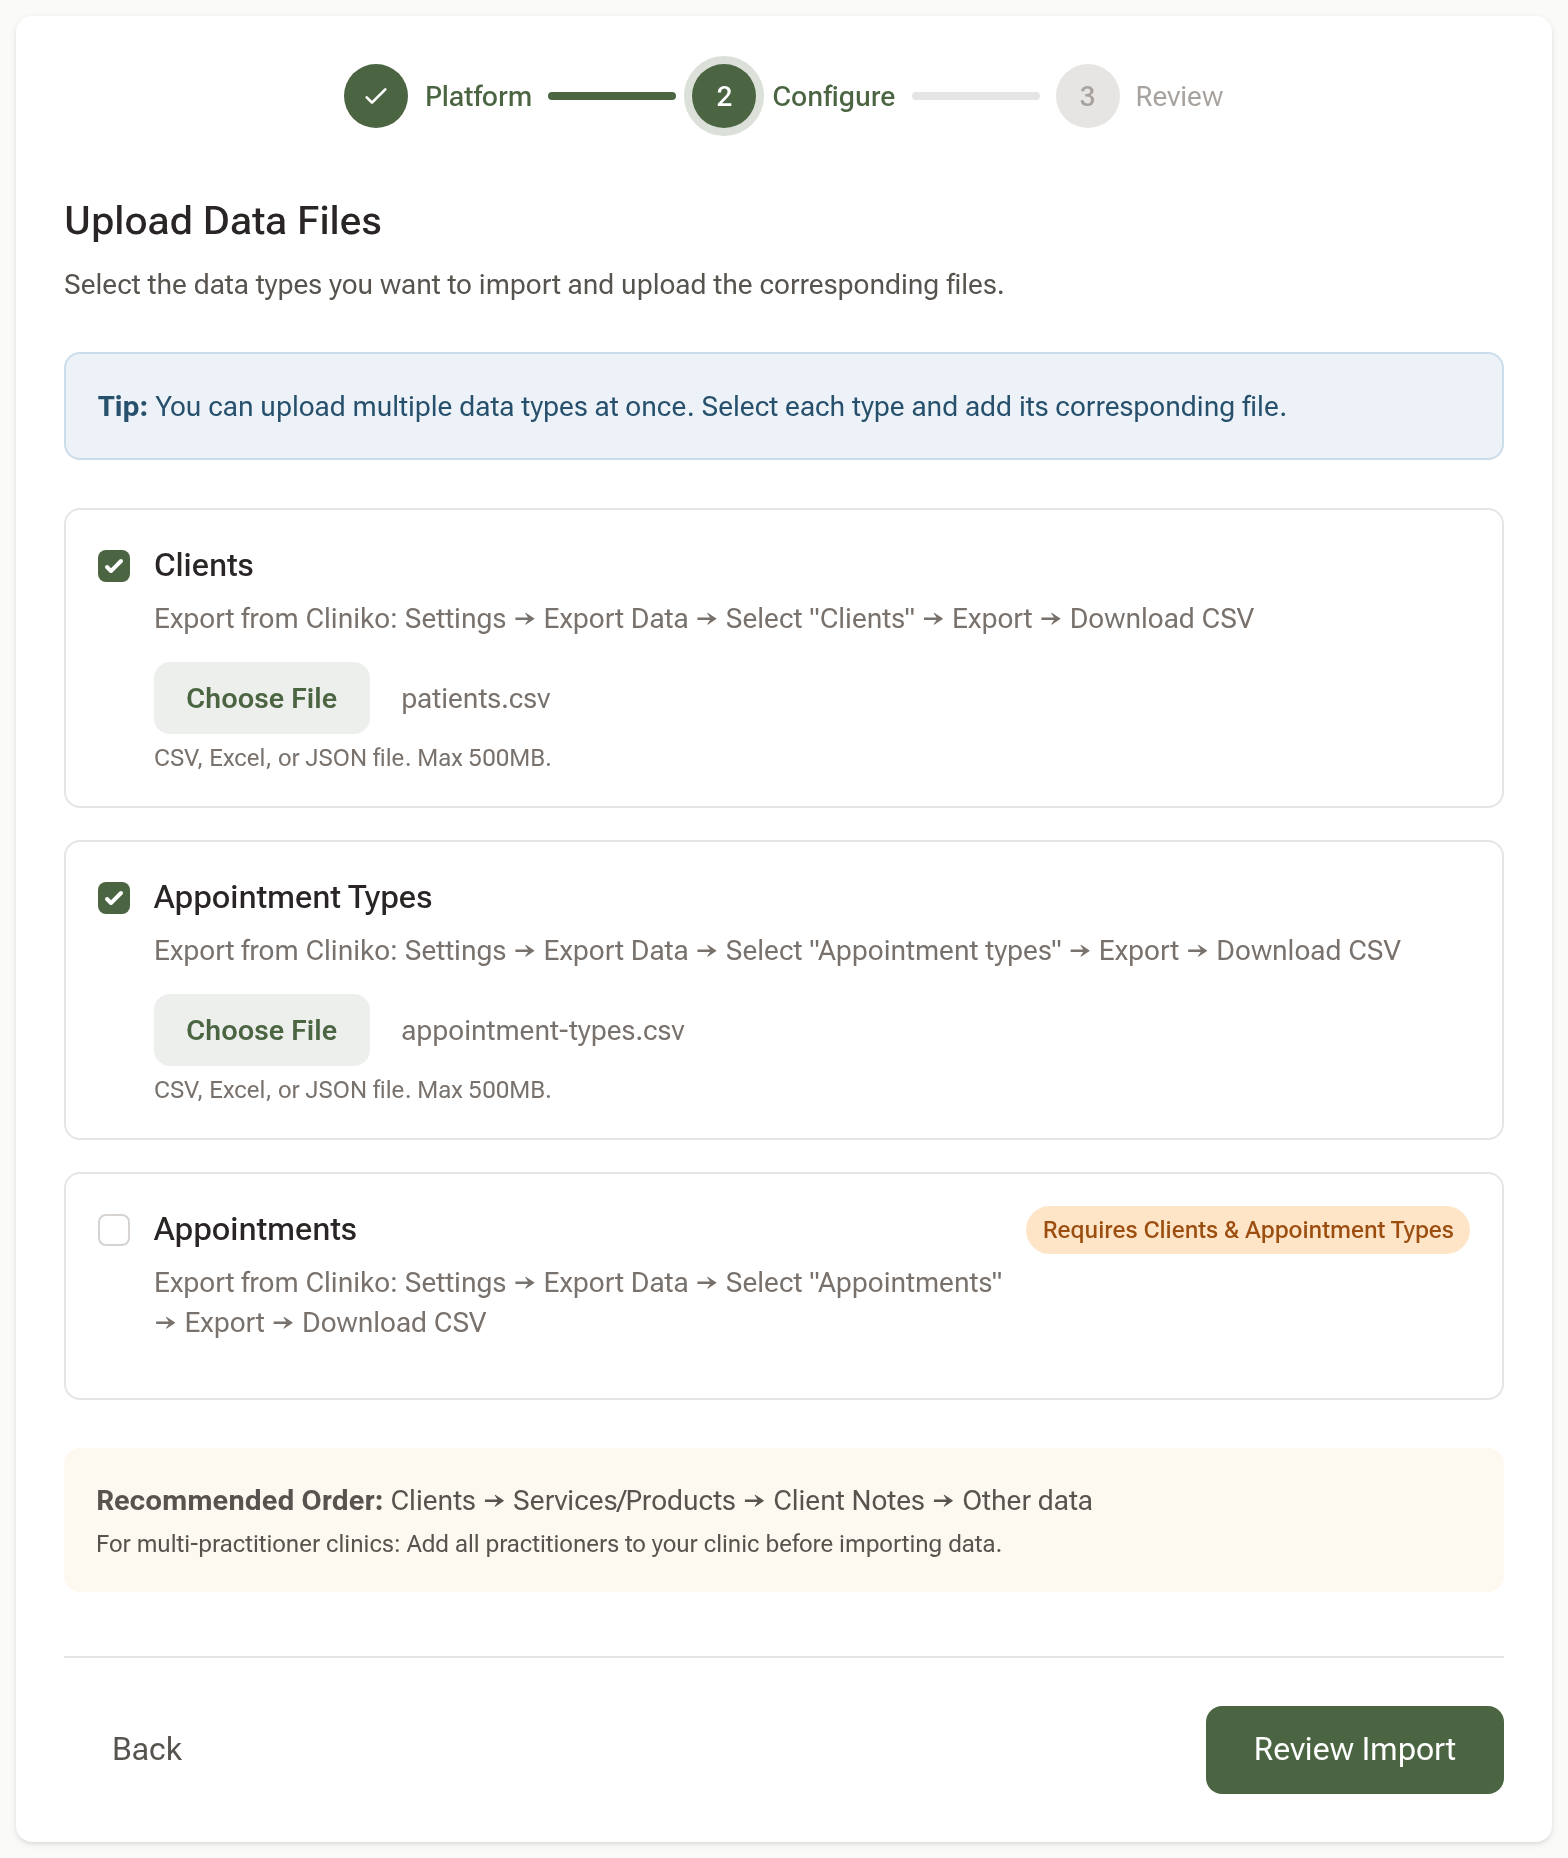
Tick each type of data you are uploading and choose its file. Each row shows where that export lives in your old system, and an orange badge where one type depends on another — appointments need clients and appointment types to be in first. Upload in the recommended order: clients, then services and products, then notes, then everything else. Files can be CSV, Excel or JSON up to 500MB; attachments go up as a ZIP.
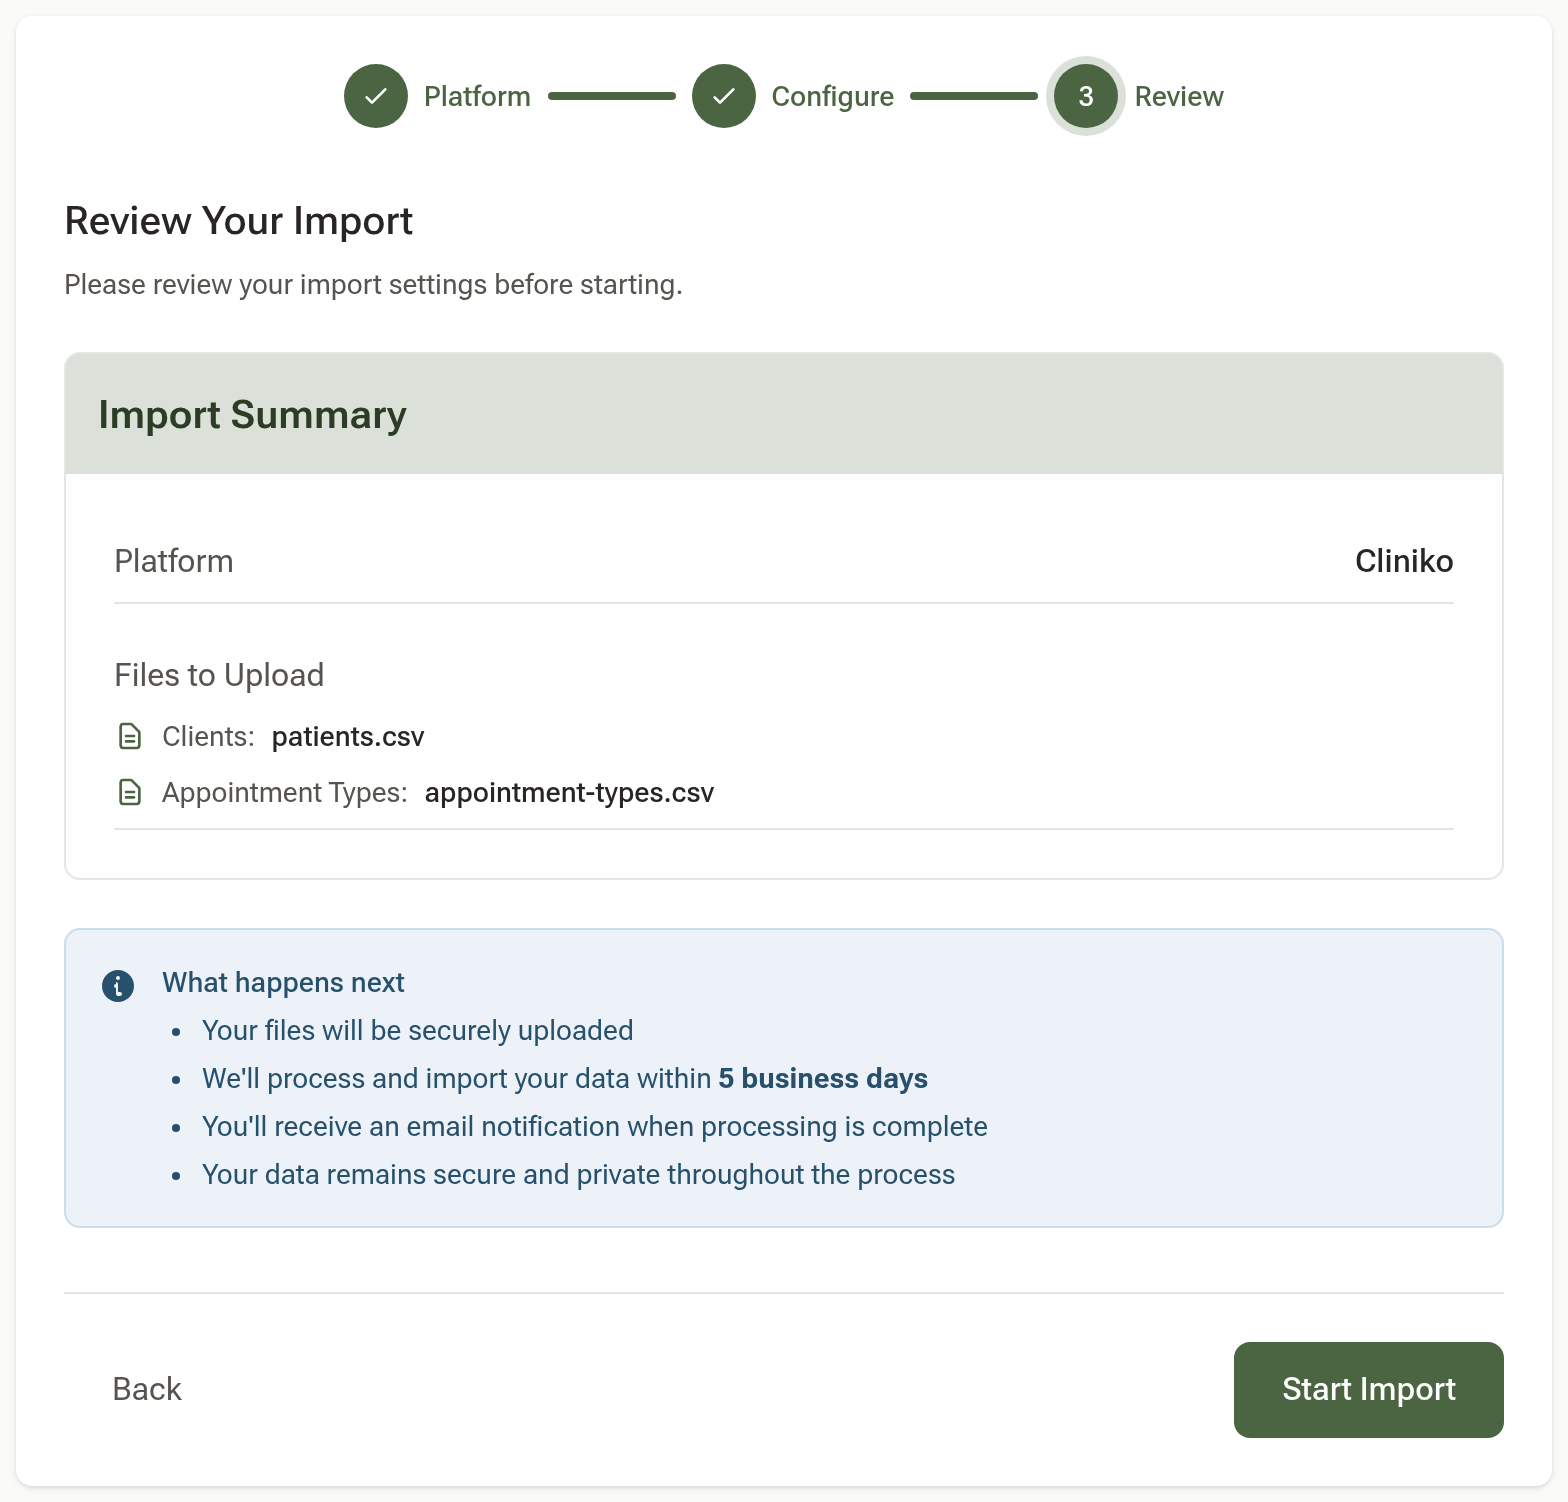
Click "Review Import", check the summary, and click "Start Import".
Step 4: Wait for the import to run
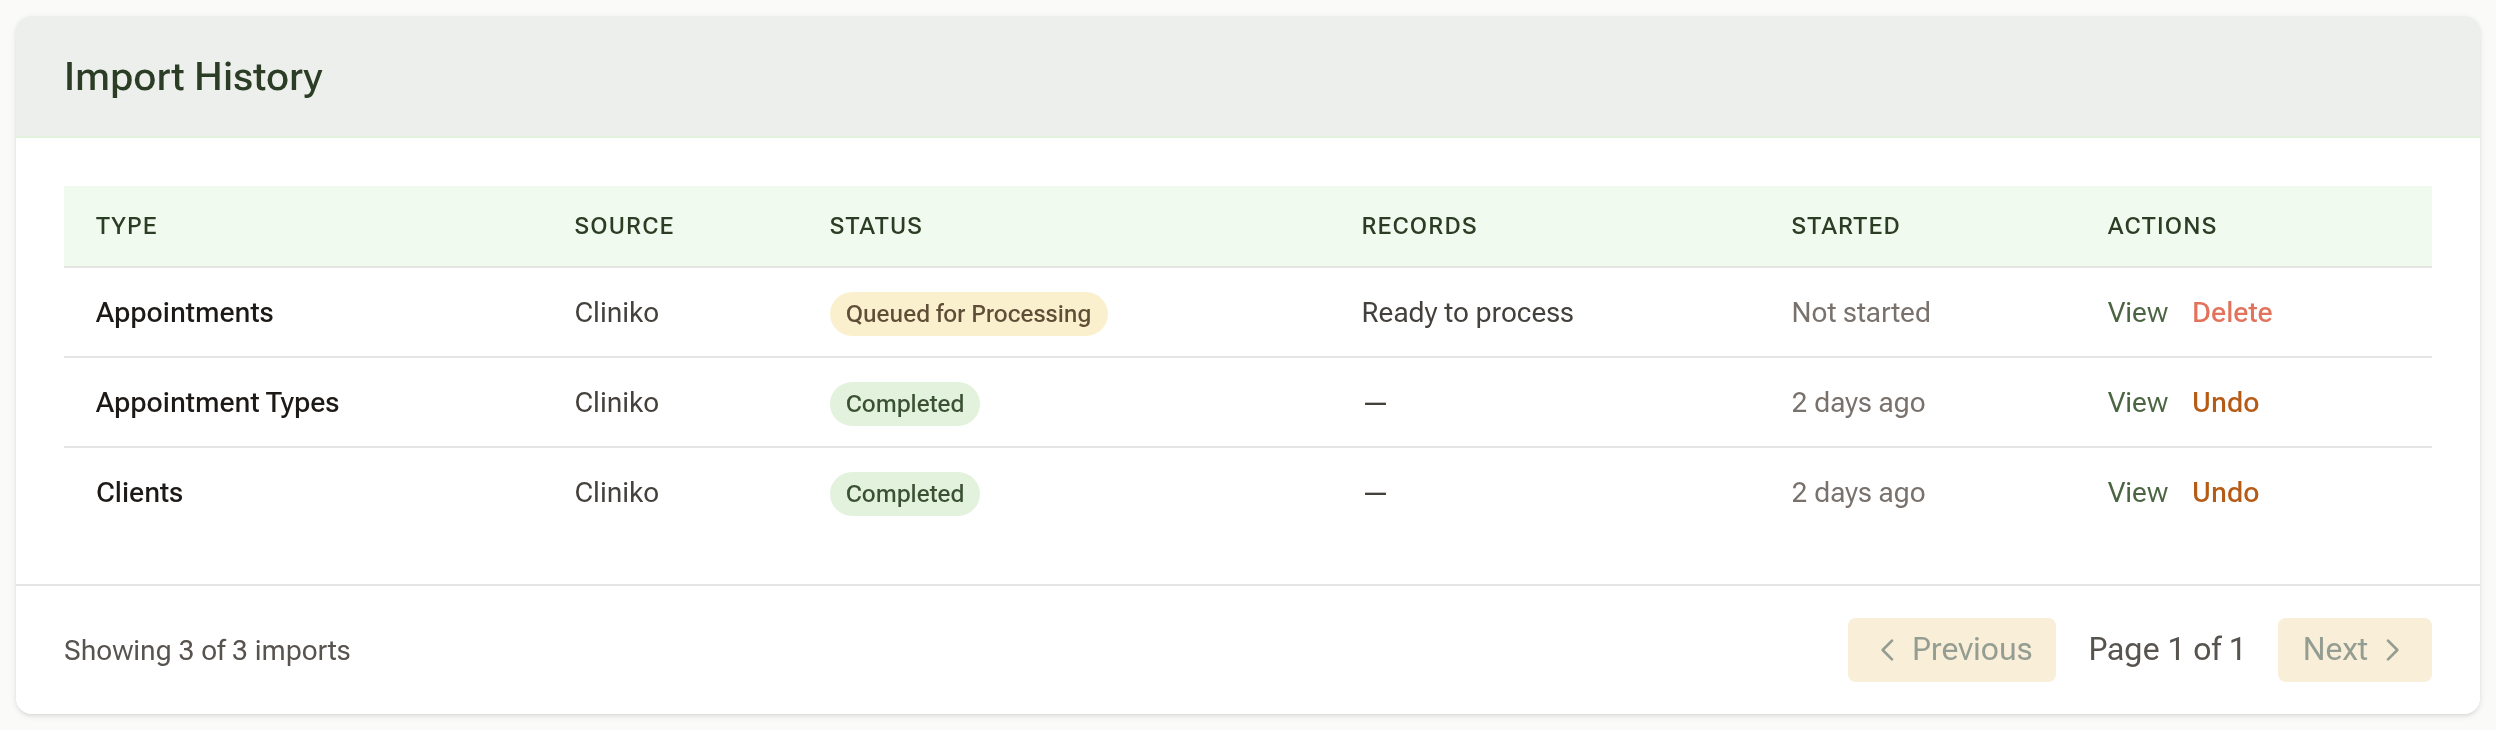
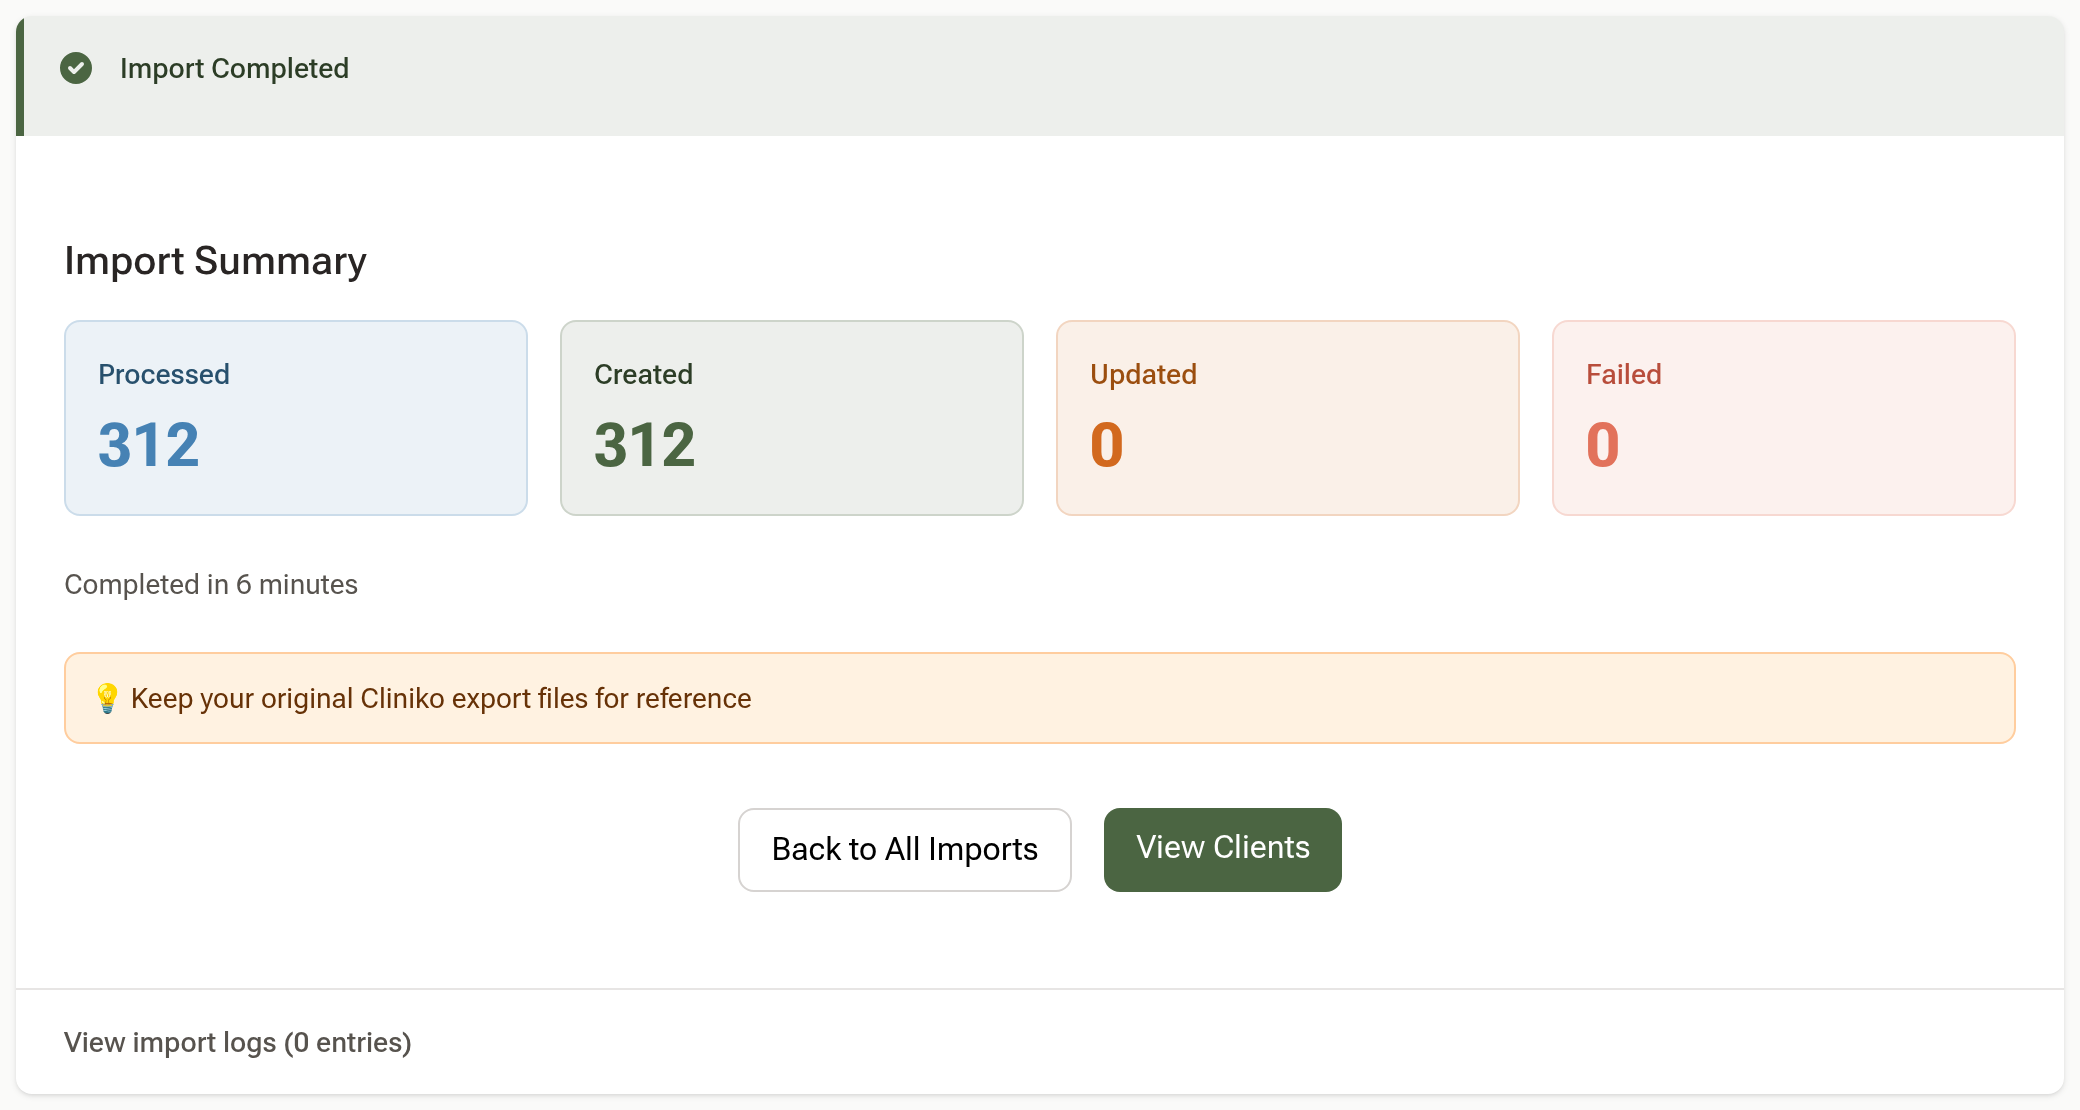
Your upload appears in Import History as Queued for Processing. The Daobook team runs it and it moves to Completed. Click "View" on any row to see how many records were created and updated.
Tips:
- Importing sends nothing to your clients. New accounts start in migration mode with client communications paused, so a year of history can come in without a single reminder going out; switch communications on when you go live.
- Bookings taken on your own website (Wix, for example) are imported by the Daobook team rather than through the wizard: send us the booking list export and tell us which appointment type each service is.