
Your Own Diagrams and Diagrams in Templates
Upload your own charts — an ear map, a foot chart, a preferred body figure — and draw on them like the body chart; then place any diagram inside a consultation template so it sits in the note.
Your Own Diagrams and Diagrams in Templates
Daobook's body chart and tongue diagram are drawn on from the View Diagrams panel of any consultation. Two things build on that: your business can add its own charts and draw on them the same way, and any diagram can be placed inside a consultation template, so it sits in the note at the spot you choose and saves as you draw.
Part 1: Add Your Own Diagram
Your own diagrams are shared with everyone at your business. Owners and admins manage them.
Step 1: Open the Diagrams card
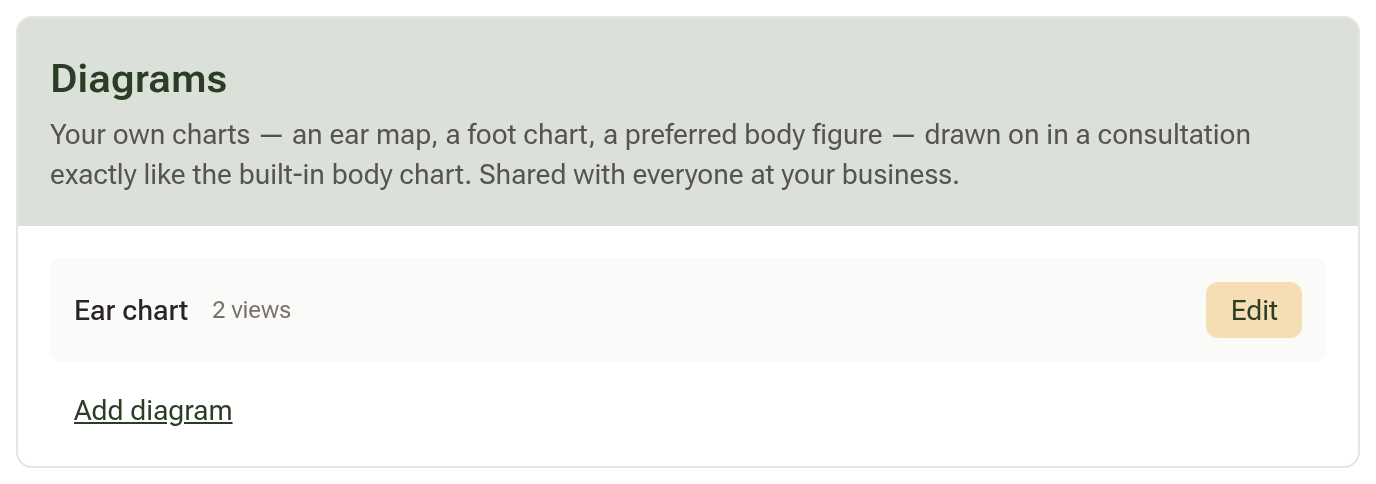
Go to Settings > Communications tab > Consultation Preferences and scroll to the Diagrams card. It lists the diagrams your business has added, with the number of views each has.
Step 2: Add the diagram
Click "Add diagram". Give it a Name (for example "Ear chart"), then add up to four images, each with a short Label — "Left ear" and "Right ear", or "Front" and "Back". Images must be PNG, JPEG or WebP; large ones are shrunk to 2000 pixels automatically. Click "Add diagram" to save.
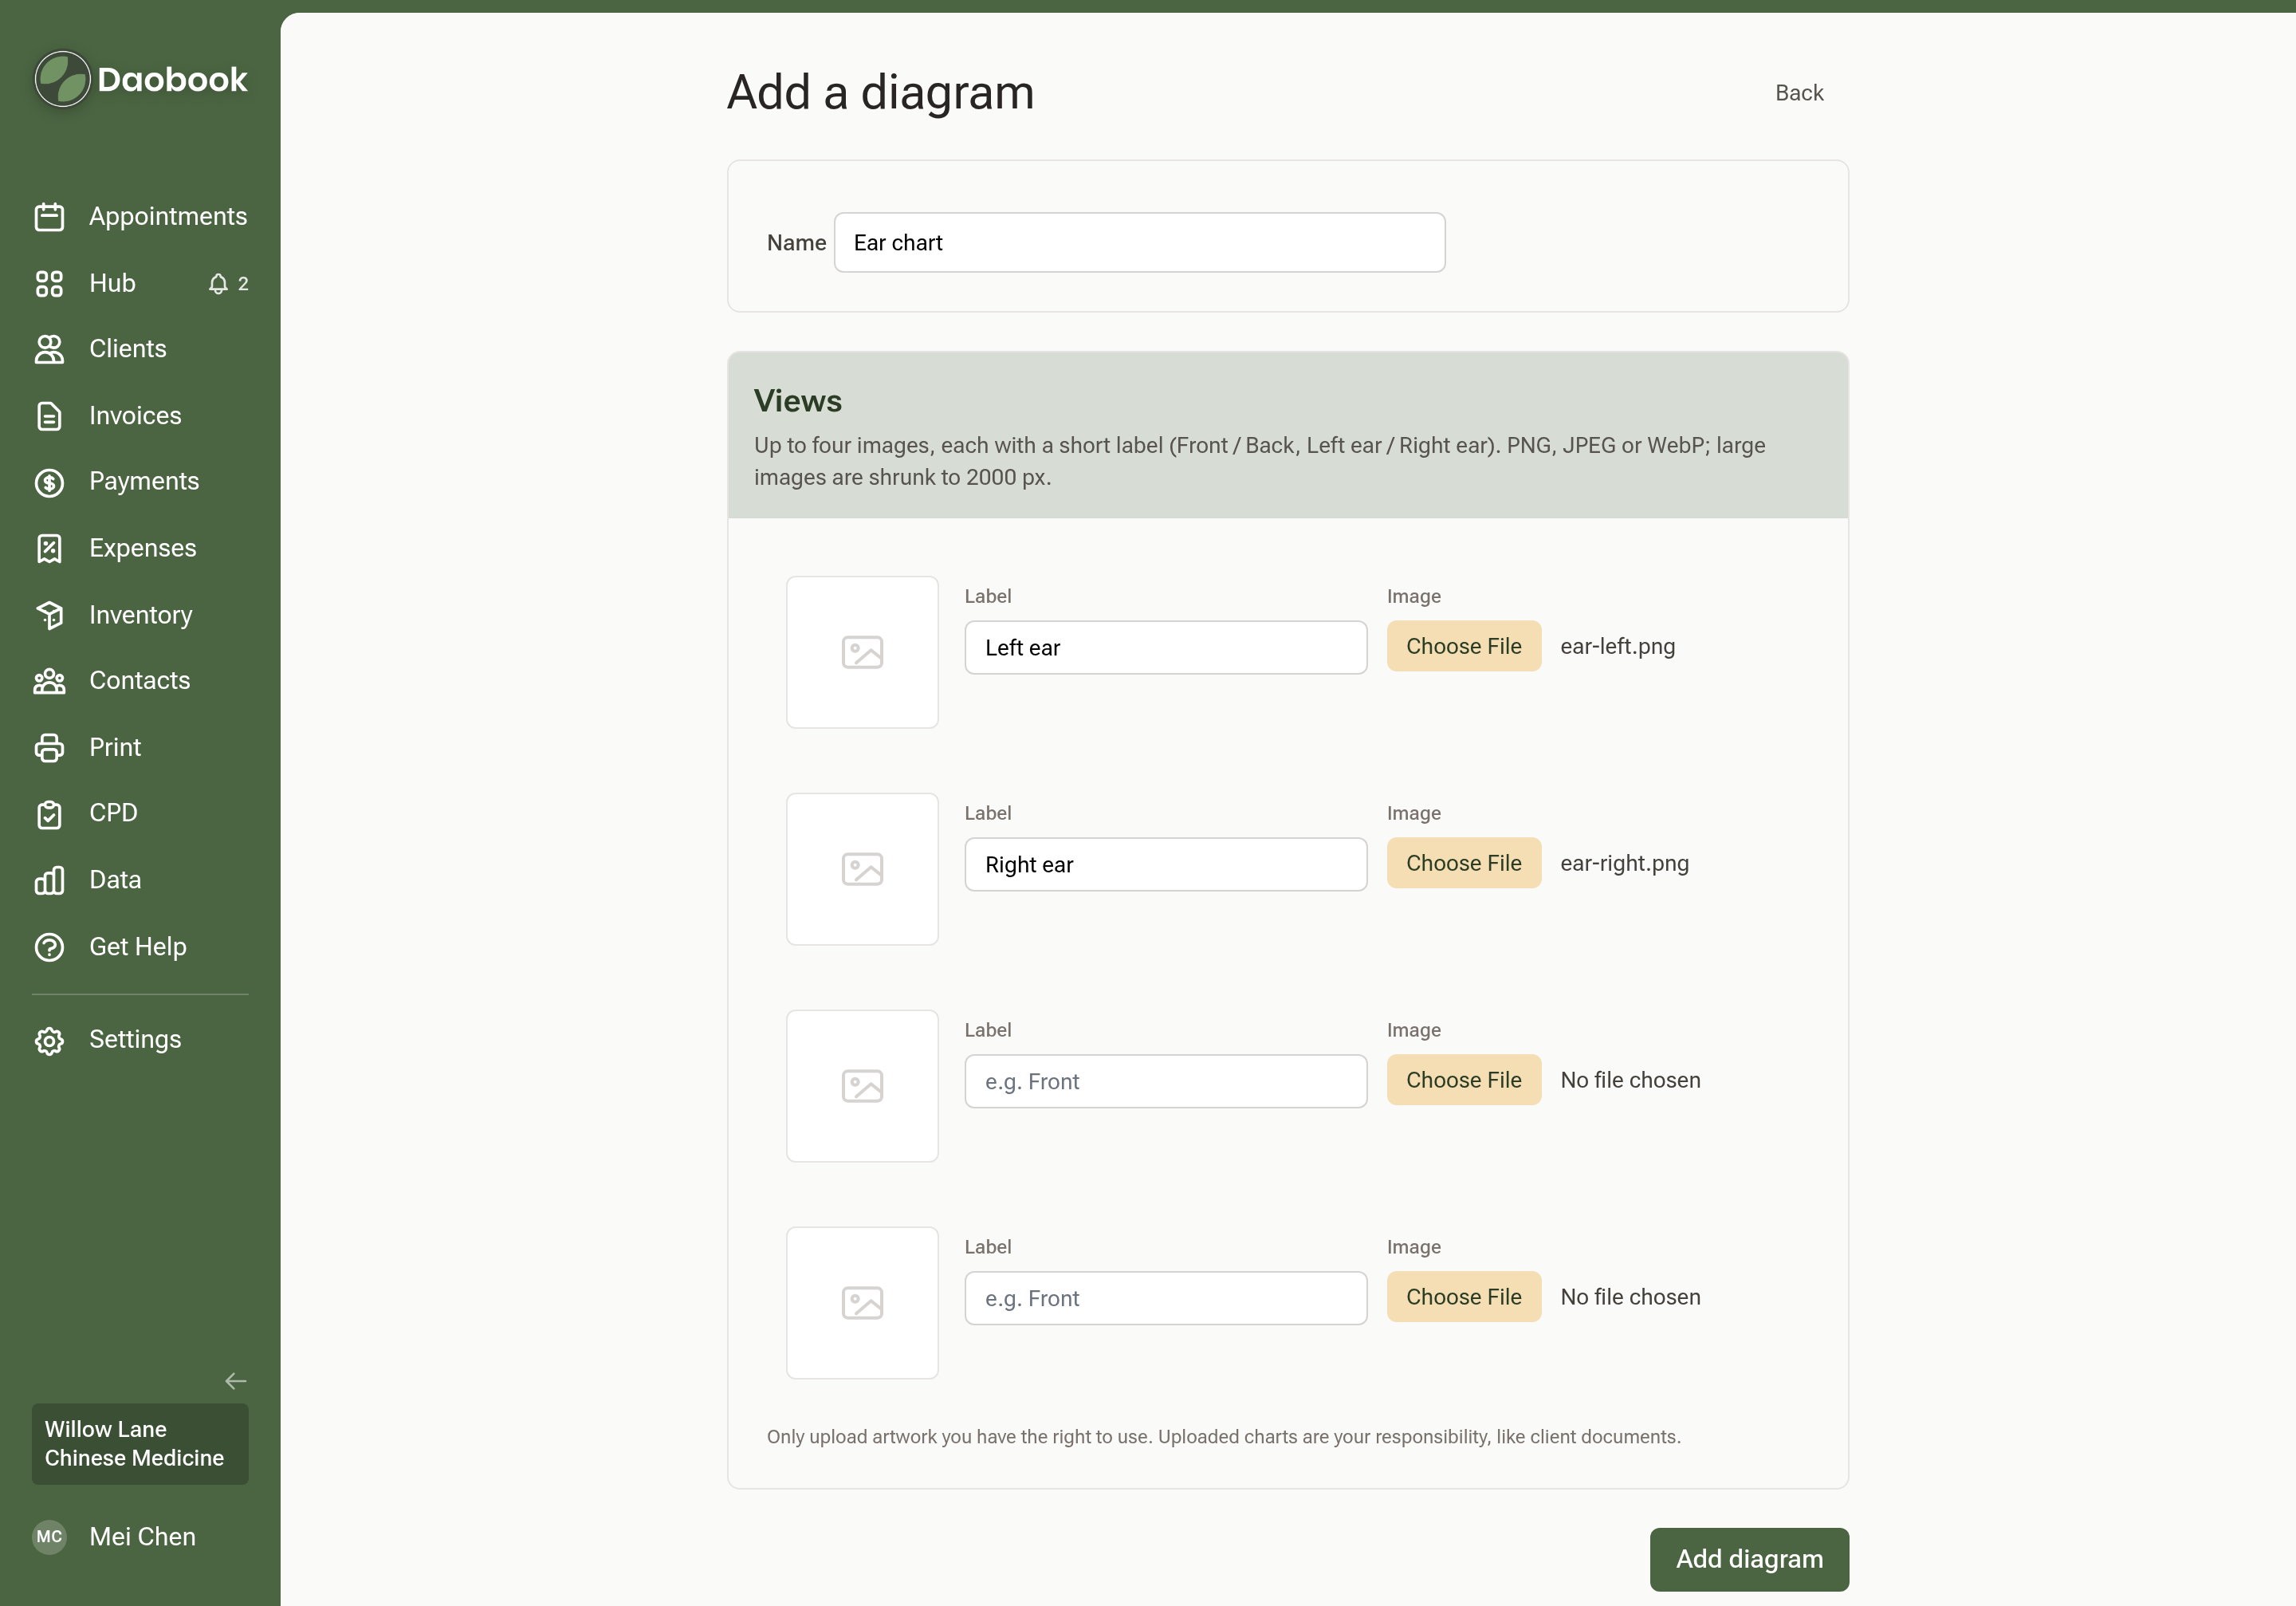
Only upload artwork you have the right to use — uploaded charts are your responsibility, like client documents.
Step 3: Draw on it
Open any consultation, click "View Diagrams", and your diagram is a card alongside Tongue Diagnosis and Body Chart. Click it, draw where the finding is, and type a short label after each stroke — exactly as on the body chart.
Part 2: Place a Diagram in a Template
Step 1: Add a Diagram field
In Consultation Preferences, click "Edit" on one of your templates. Click "+ Add Custom Field" in the section where the diagram should sit, type a label such as "Pain chart" or "Ear points", and choose "Diagram" as the field type. A second dropdown appears: pick Body Chart, Tongue Diagnosis, or one of your own diagrams. Click "Save Template".

Step 2: Draw in the note
On a consultation using that template, the diagram appears at that point in the note with its view buttons and pen tools above it. There is no Save button here — every stroke, undo or clear saves on its own, and a small "Saved" appears in the corner.
Colour, Size and "Ask for a label" are your own settings: change them once, on any diagram, and they stay that way for you on every device. Untick "Ask for a label" if you just want to draw lines without a box appearing after each stroke.
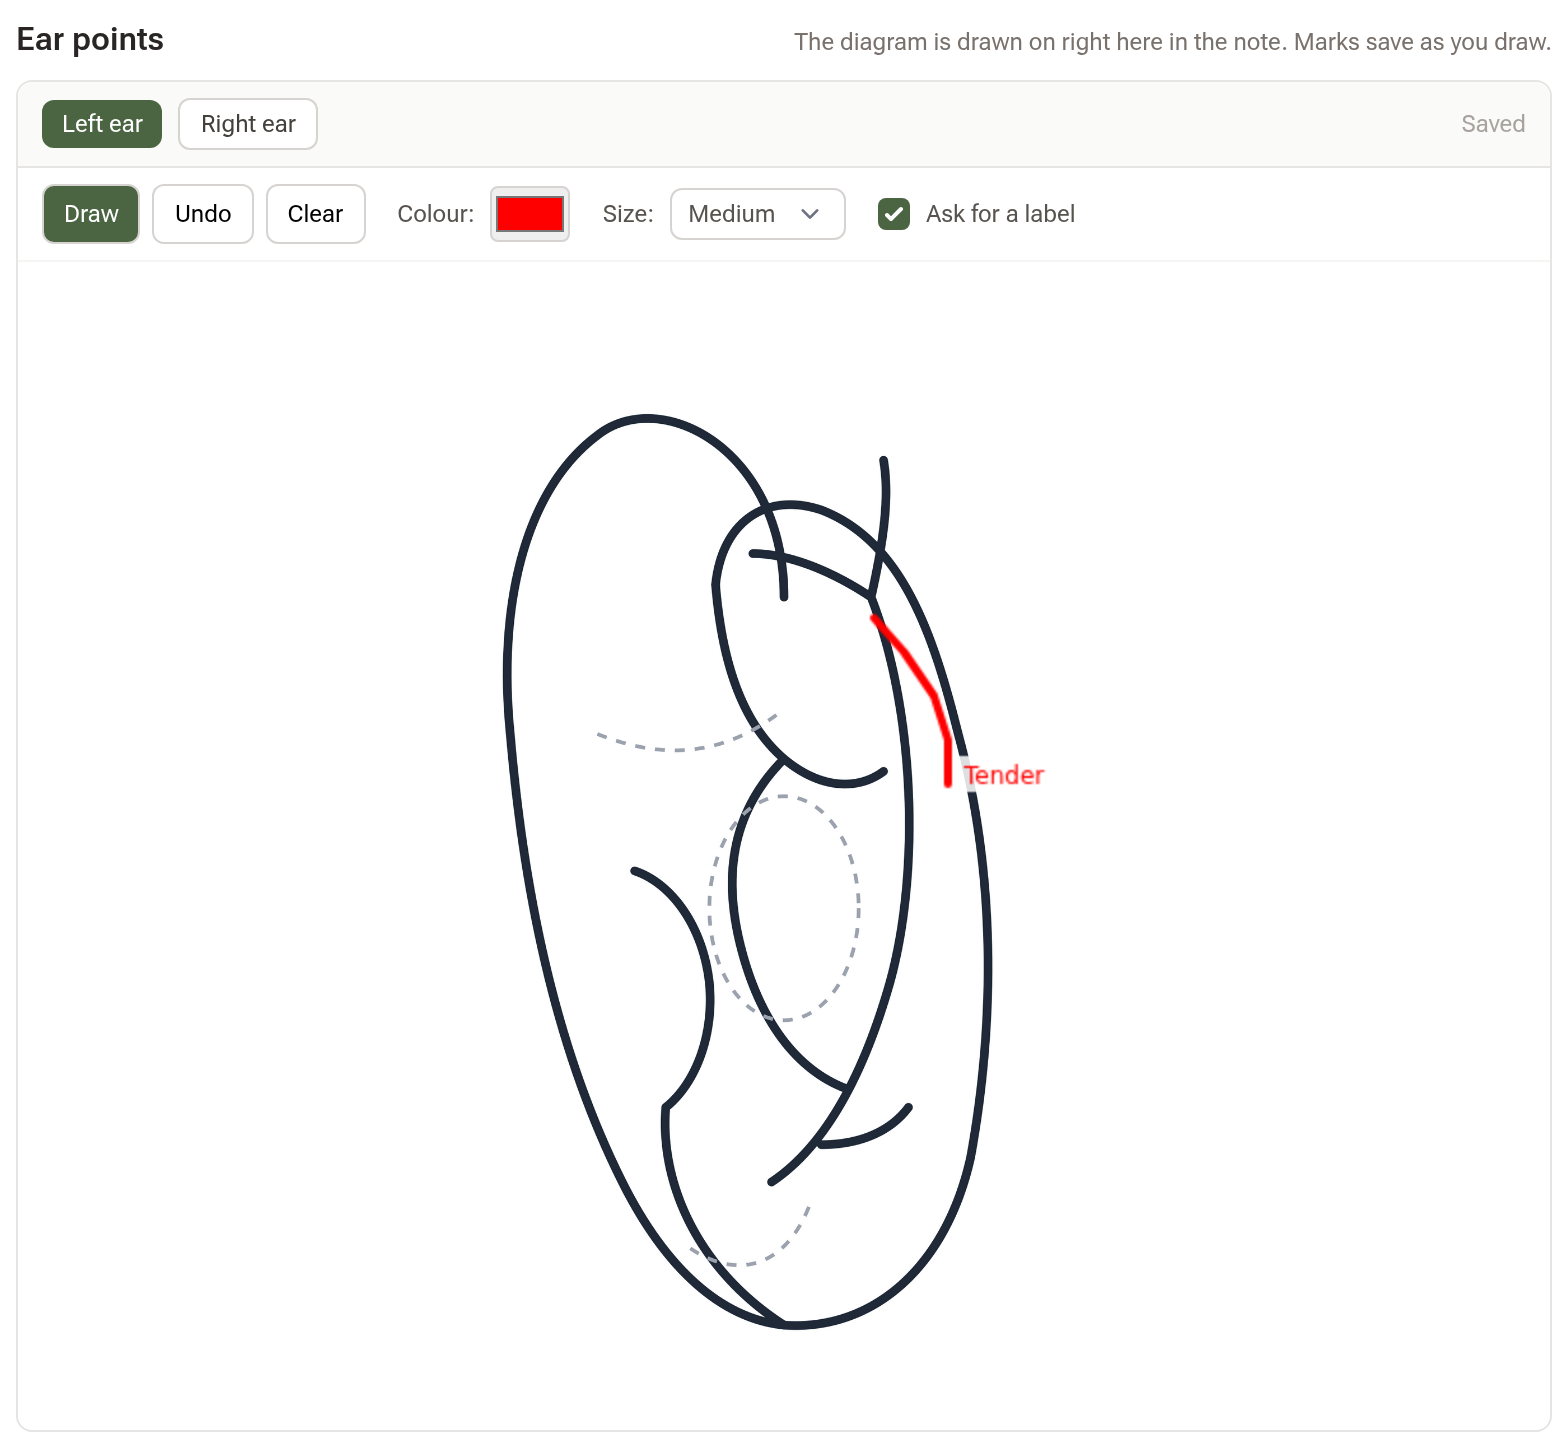
The View Diagrams panel still lists the diagram; its card now reads "In the note — click to go to it" and scrolls you there. On the finished consultation the drawing shows at the same spot in the details, and View Diagrams there opens each drawing in a read-only window.
Tips:
- A diagram can be placed once per template, and the field is always full width.
- Once a consultation has marks on one of your own diagrams, that image can no longer be replaced and the diagram can only be archived, not deleted — past notes keep showing it. Add a new diagram instead.