
Setting Up Online Bookings
Choose which booking link to share, put the booking form on your website, and decide which services and times clients are offered, what they read and what the form asks.
Setting Up Online Bookings
Your online booking page lets clients book themselves in, from a link you share or a form on your own website. It only ever offers times that fit your working hours and appointment types, so set those up first — see Setting Up Your Calendar.
Clinic owners and admins see every setting described here. A practitioner who isn't an admin sees their own booking link, the notice period and the SMS setting.
Step 1: Open the Online Bookings settings
Click Settings in the sidebar, open the Practice Info tab and choose Online Bookings. The page is headed Online Bookings Settings, and everything below is on it.
Step 2: Pick the link to share
The Online Booking Links card at the top has a tab for each kind of link:
- Clinic — clients pick a practitioner at your clinic, then a service. The usual choice.
- Appointment Type — clients pick the service first, then a practitioner (or take the first available).
- Practitioner — books with you only.
- Whole Business — clients pick one of your locations first, then book there. This tab only appears when your business has more than one location, and it saves giving clients a separate link for each.
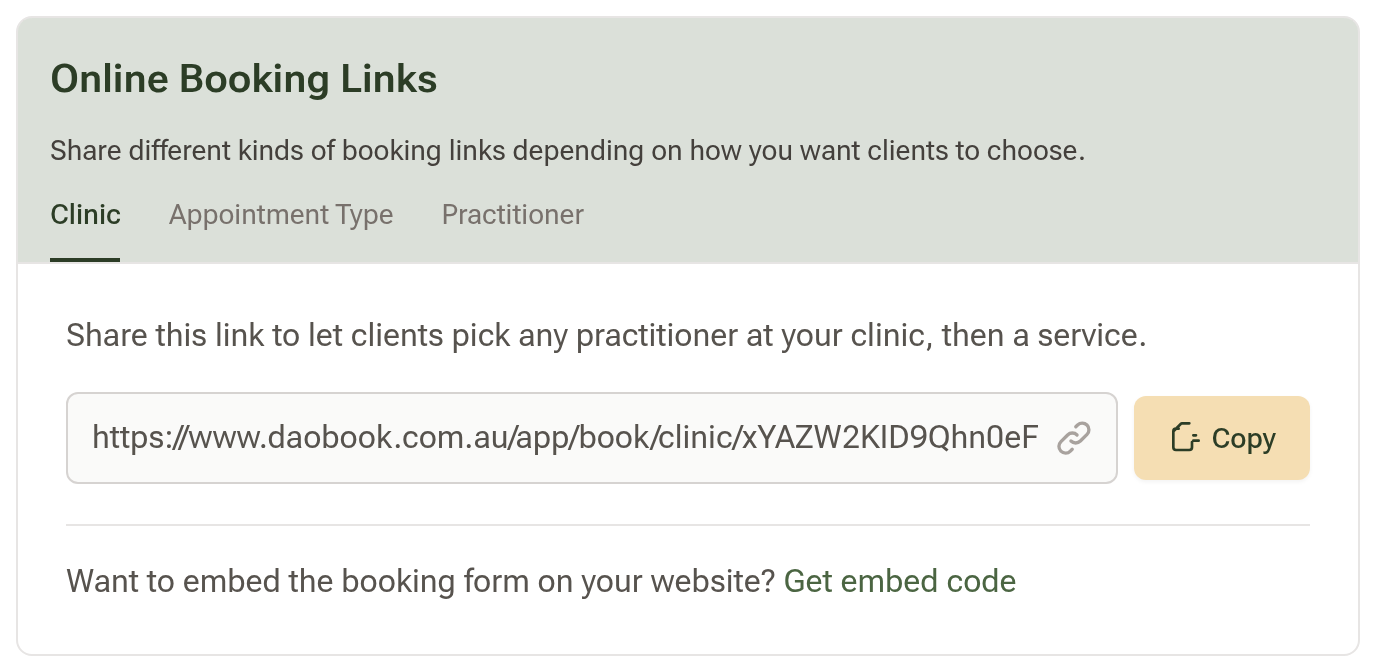
Click Copy and paste the link wherever clients find you — your email signature, Google Business Profile, Instagram bio or a directory listing. Each link stays the same for good, so it's safe to print.
Step 3: Put the booking form on your website
Under the link, click Get embed code.
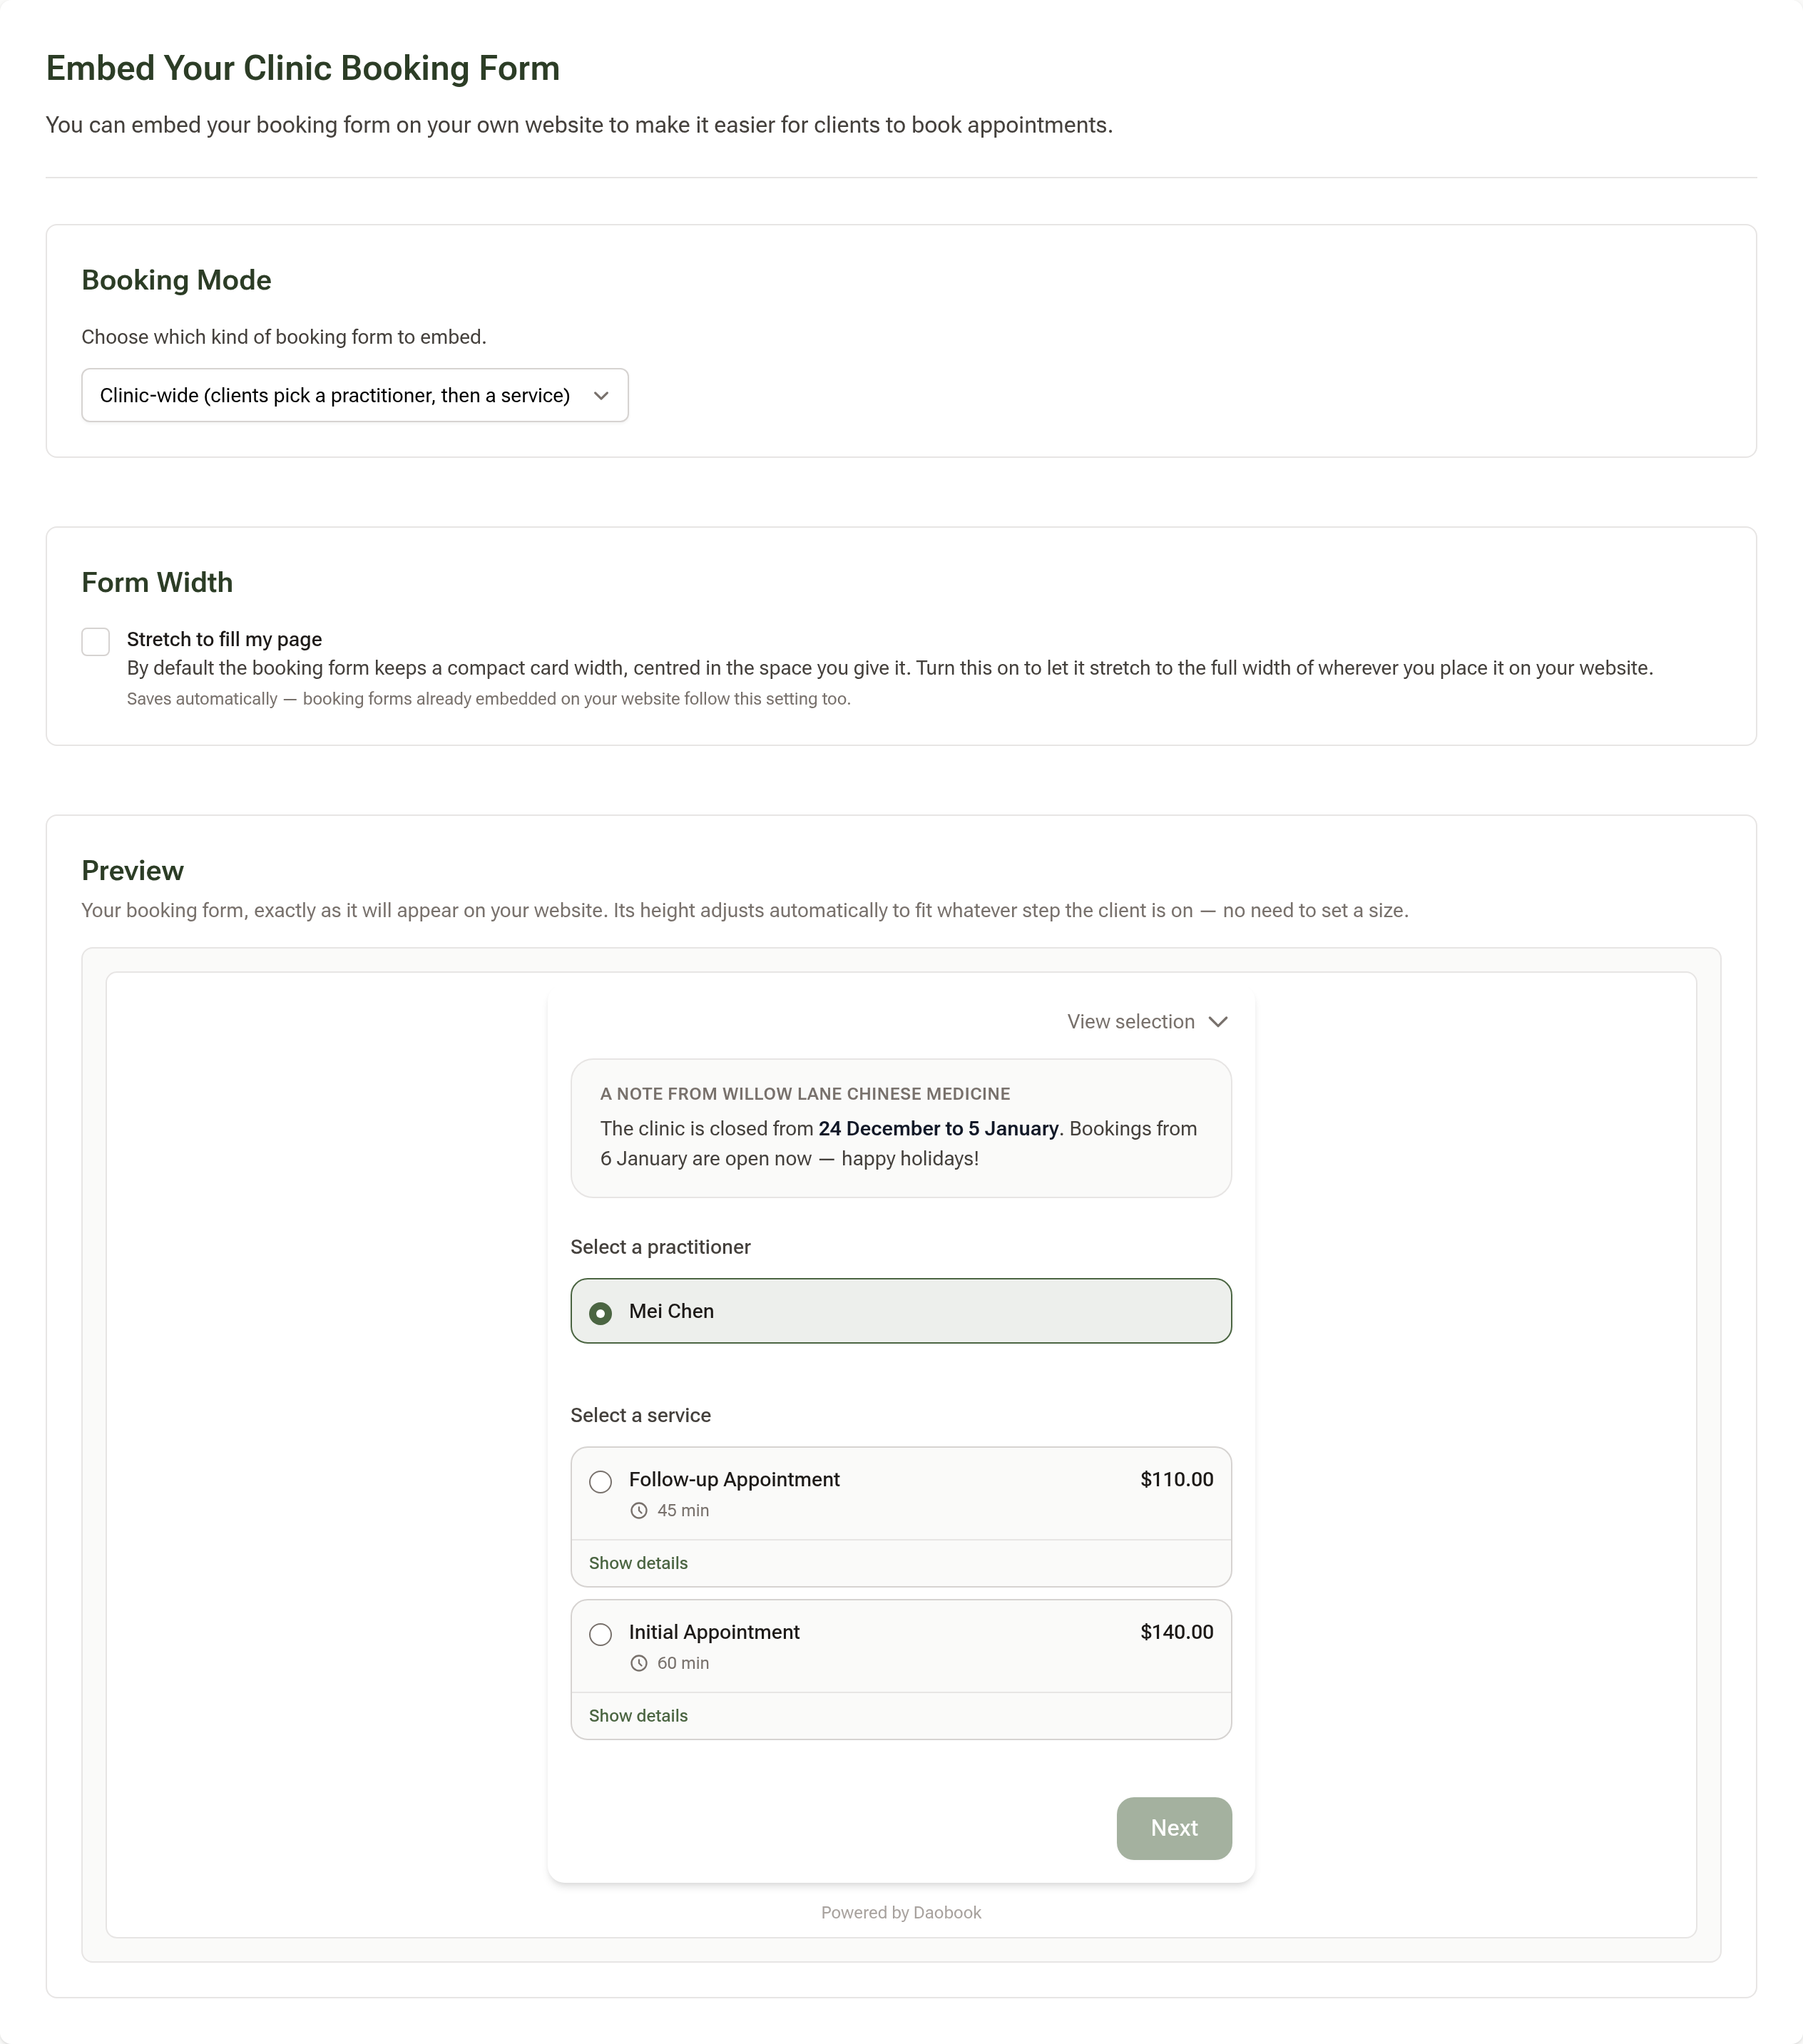
- Choose the Booking Mode — which of the booking forms from Step 2 to embed.
- Leave Stretch to fill my page unticked for a compact form centred on the page, or tick it to fill the full width. It saves on its own, and forms already on your website follow the change.
- Check the Preview — it's exactly what your website visitors will see.
- Scroll down, click Copy Code, and paste it into an HTML or custom code block on your website. The page lists where that block is in WordPress, Wix, Squarespace and Shopify.
If your website only lets you add a plain link, not code, use the link from Step 2 instead.
Step 4: Decide what clients see first
- Default Appointment Type — pick a service to have it already selected when a client opens any of your booking links. Leave it on First available to let them choose.
- Booking Availability at [your clinic] (team practices) — untick a practitioner to hide them from online booking. They can still be booked from the calendar as normal.
- Which services appear at all is set on each appointment type, with its Show in Online Bookings box and Limit when it can be booked online. There's a link to Appointment Types just under the links card; both settings are covered in Setting Up Your Calendar.
Step 5: Decide which times are offered
Booking Notice Period — the minimum number of hours' notice for an online booking. At 24, nobody can book online for later today or early tomorrow.
Start Times — how the times on offer are laid out:
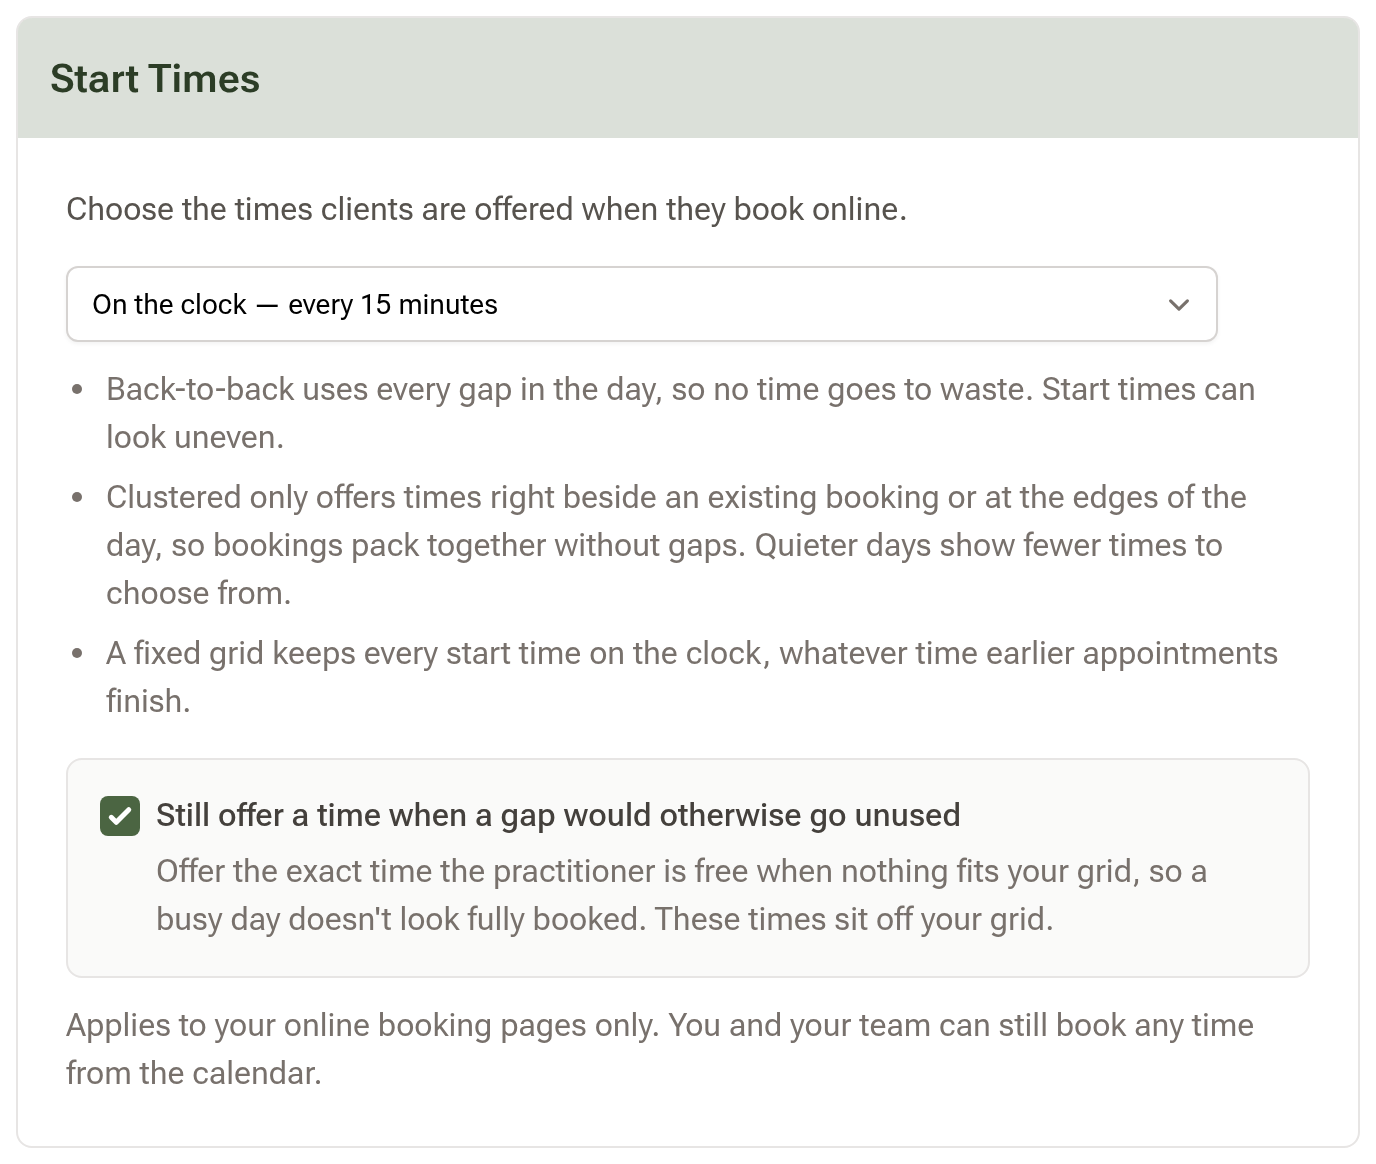
- Back-to-back offers a time as soon as you're free, so no gap goes to waste — but start times can look uneven, like 10:50 or 2:05.
- Clustered only offers times right beside an existing booking or at the start or end of your day, so your bookings stay together. A quiet day shows only a few times.
- On the clock — every 5, 10, 15, 20 or 30 minutes, or every hour — keeps every start time on a fixed grid. With a grid chosen, Still offer a time when a gap would otherwise go unused also offers a leftover gap that doesn't fit the grid, so a busy day doesn't look fully booked.
Both settings apply to online booking only. You and your team can still book any time from the calendar.
Step 6: Add a notice and your policies
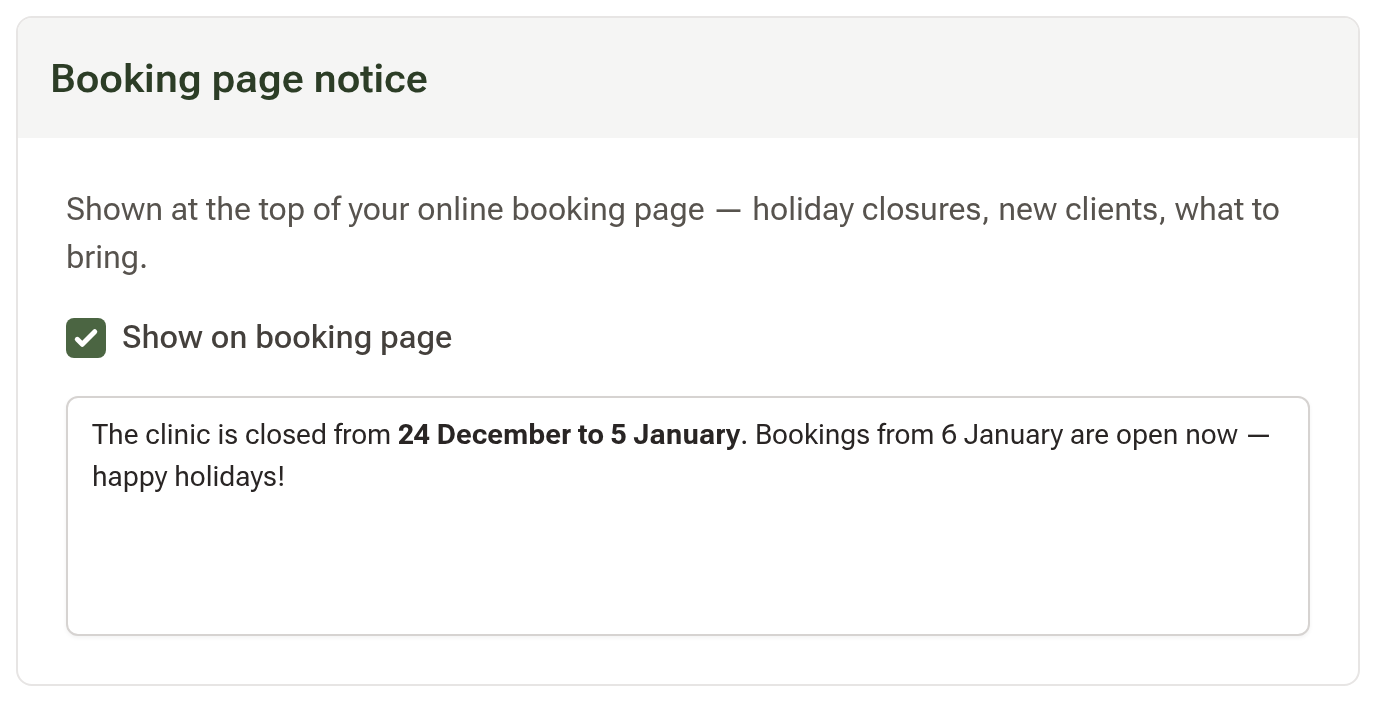
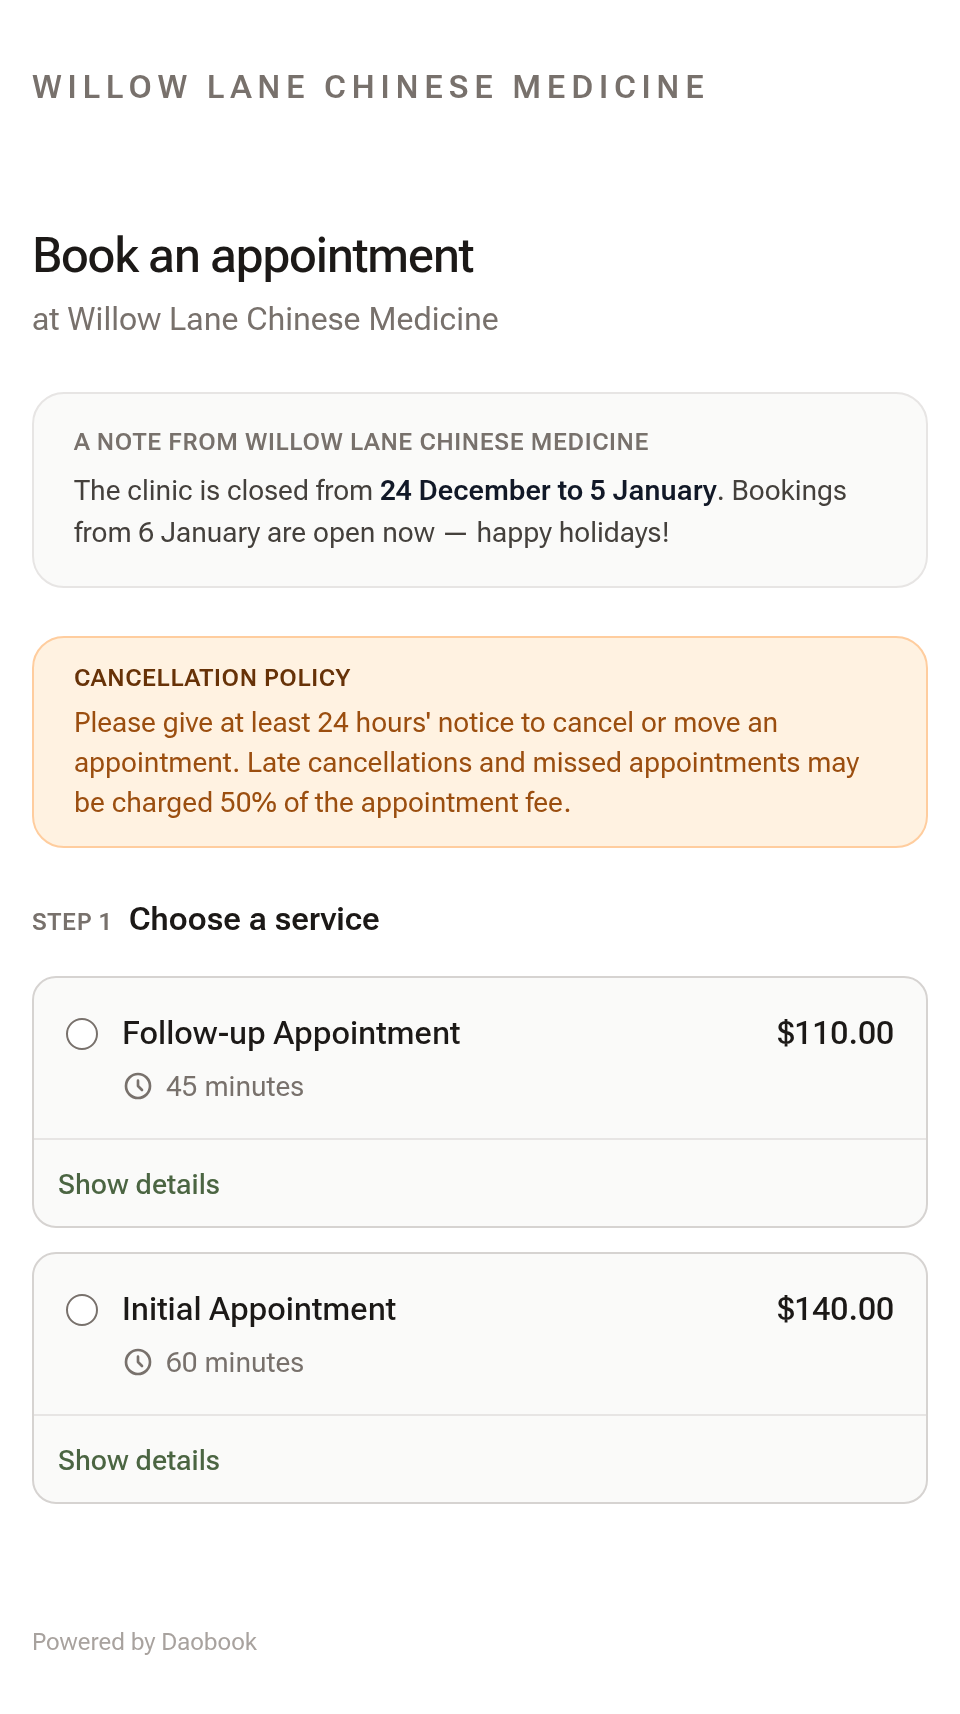
Booking page notice — a short message at the top of your booking page: holiday closures, that you're not taking new clients for now, what to bring. Write it, tick Show on booking page, and it appears on every booking link and embedded form for this location. Untick it to hide the notice; the text is kept for next time.
Terms & Conditions and Privacy Policy — write your own or click Load starter template, then read the template through and change it to suit your practice. Tick Require clients to accept… to make accepting them a step in booking. Your privacy policy also appears on intake forms.
Cancellation Policy — shown prominently while clients book, separately from your terms.
Taking a deposit or holding a card when clients book is set in Deposit or Card Hold further down, once Square or Stripe is connected — see Taking Online Payments with Square or Stripe and Card Hold at Booking.
Step 7: Choose what the booking form asks
Online Booking Form Customisation lists what clients fill in. First Name, Last Name, Date of Birth, Email and Mobile Number are always asked. Tick any of the optional fields you'd like as well — Health Fund, Known Allergies, Current Medications, How Did You Hear About Us?, the marketing opt-ins and more. What clients enter goes straight onto their client record.
Step 8: Choose how you hear about new bookings
You're emailed about every online booking automatically. For a text as well, tick Notify me via SMS when I receive a new online booking. It needs a phone number on your profile, and each text is paid from your SMS wallet balance.
Click Save Changes at the bottom of the page.
Step 9: Check it as a client would
Open your link in a private (incognito) browser window. Pick a service and a day, and check the times offered are the ones you expect.
Tips:
- Your calendar can show free time that online booking won't offer — the notice period, Start Times and a service's online limits apply online only. When a client says no times are showing, the private window from Step 9 shows you what they see.
- To stop online bookings at one location, go to Settings → Team & Clinics → Manage Practice Locations, click Edit on the location and untick Enable Online Bookings.