
Setting Up a Second Practice Location
A second clinic, a shared team member, and per-location working hours — here's the order of operations so settings land where you expect.
Setting Up a Second Practice Location
Adding a second clinic location involves a few connected pieces — creating the location, switching the active clinic so settings land in the right place, adding practitioners (including ones who already work at your other clinic), and deciding whether products and inventory are shared or kept separate. Here's the order of operations.
Step 1: Create the New Location
Go to Settings → Clinics & Team Management → Manage Practice Locations and click Add New Location.
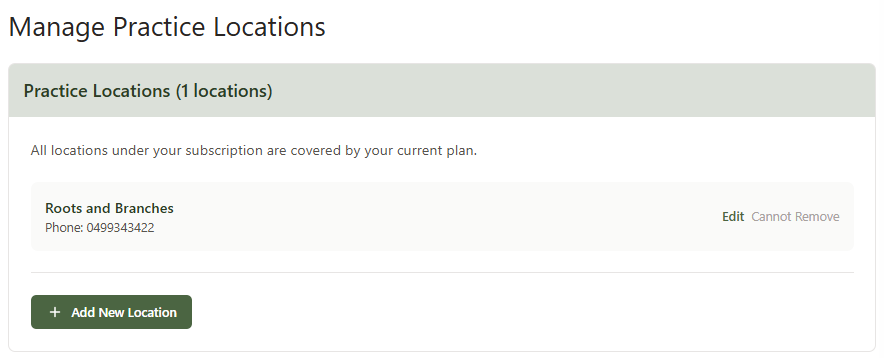
Fill in the address and contact details on the New Practice Location form, then click Add Practice Location.
Step 2: Switch to It with the Active Clinic Selector
Most settings — working hours, appointment types, inventory — apply to whichever clinic is currently active. Before you configure the new location, you need to switch to it.
The Current Clinic selector lives at the bottom of the sidebar, just above the Logout button. Click it and pick the new clinic.
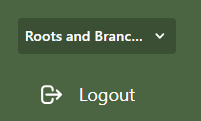
From here on, any settings you change apply to the newly selected clinic. If something isn't landing where you expect, this is the first thing to check.
Step 3: Add Practitioners to the New Location
With the new clinic active, go to Settings → Clinics & Team Management and find the Team Members section under your new clinic. You have three options:
- Add Team Member — bring on a brand-new person
- Invite Existing User — invite by email if they already have a Daobook account
- Add from Another Clinic — share a colleague who already works at your other location
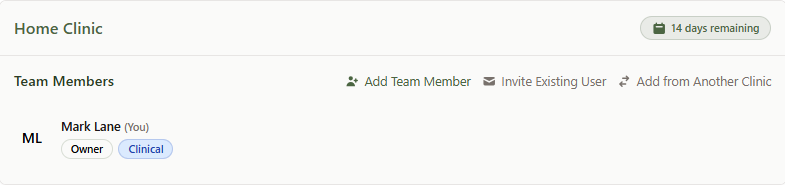
The third option is the one you want when a practitioner from your existing clinic is also going to work at the new one — it shares them across both rather than creating a duplicate account.
Step 4: Set Per-Location Working Hours and Provider Numbers
On the team list for the new clinic, click Manage next to the practitioner.

Working hours, provider numbers and financial access are stored per clinic, so the values you set here are independent of the same practitioner's settings at your other location.
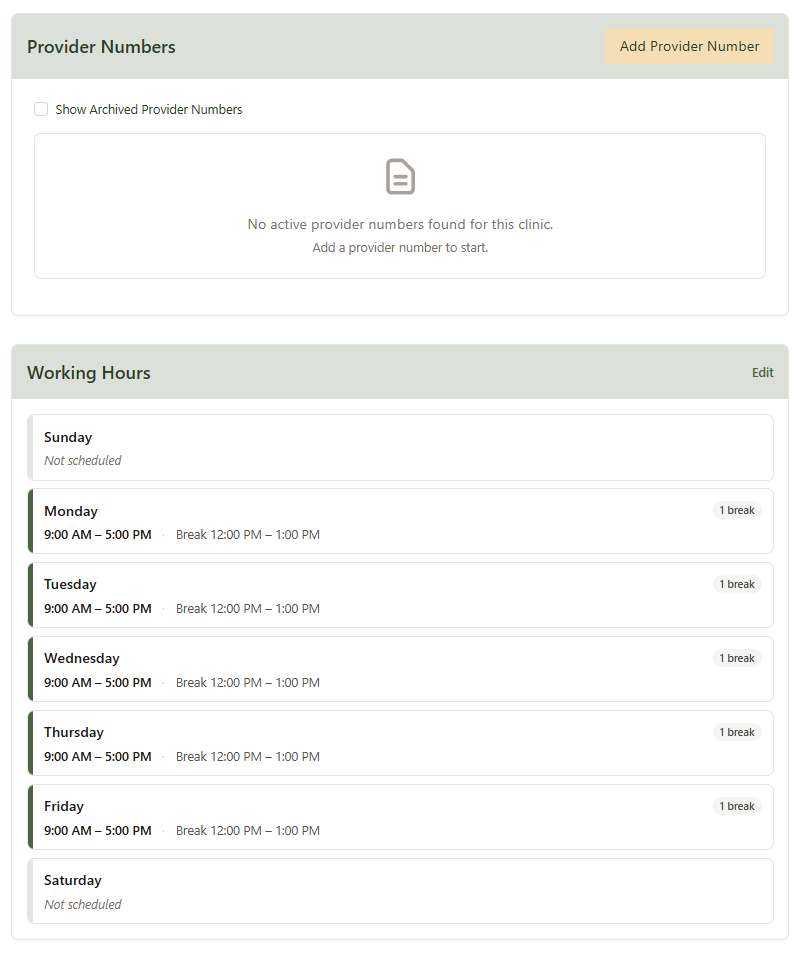
Set the days and times the practitioner works at this location, add any provider numbers specific to it, and save.
Step 5: Decide How Products and Inventory Are Shared
By default a new location starts with empty products and inventory. You can either keep it that way and build up a separate stock list, or share what your first clinic already has.
Go to Settings → Clinical Resources → Inventory Settings, and look under Multi-Location Sharing:
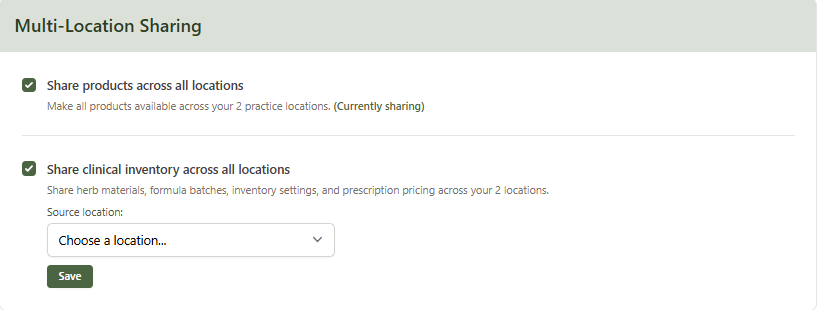
- Share products across all locations — makes every product available at every location
- Share clinical inventory across all locations — shares herb materials, formula batches, inventory settings and prescription pricing. When on, choose a Source location to use as primary
Leave the toggles off for genuinely separate stock; turn them on if both clinics draw from the same dispensary or product list.
Step 6: Import Appointment Types from Your First Location
With the new clinic active, go to Appointment Types. You'll see an Import from another location button at the top of the page.

Pick the clinic to Copy from, tick the appointment types you want (or use Select all), then click Import selected. Saves rebuilding pricing and durations from scratch.
Tips
- The active clinic selector controls almost everything in Settings. If a change isn't landing where you expect, check the selector is pointing at the right clinic.
- Manage only appears on clinics you administer. If you're a team member at the clinic rather than its owner, you won't see the per-location practitioner settings.
- Add from Another Clinic only shows up when there's an eligible practitioner in one of your other clinics — so it appears as soon as you've created the second location and have someone to share.