
Printing Prescription Labels
Print thermal labels and A4 instruction sheets for your prescriptions, and set up how they look — herb names, preparation instructions and your logo.
Printing Prescription Labels
Daobook prints a thermal label for every prescription you create, and an A4 instruction sheet for raw herb scripts. This covers printing them and setting up how they look.
Step 1: Check your printer settings
Go to Print Labels and open the Printer Settings panel at the top.
Choose Brother or Dymo, then your model. Daobook sizes every label to match — 62mm x 100mm for Brother, 59mm x 102mm for Dymo — so the PDF comes out right without you touching your print dialog. Your choice saves itself as you make it.

If you haven't bought a printer yet, the Brother QL-810W is the one to get: it's wireless, and on Mac it registers over AirPrint with no driver at all. The QL-800 (USB) and QL-820NWB (wireless) are also supported, all using the same 62mm x 100mm label.
Setting the printer up for the first time is covered in Setting Up Your Brother Label Printer (Mac) and Setting Up Your Brother Label Printer (Windows).
Step 2: Print a label
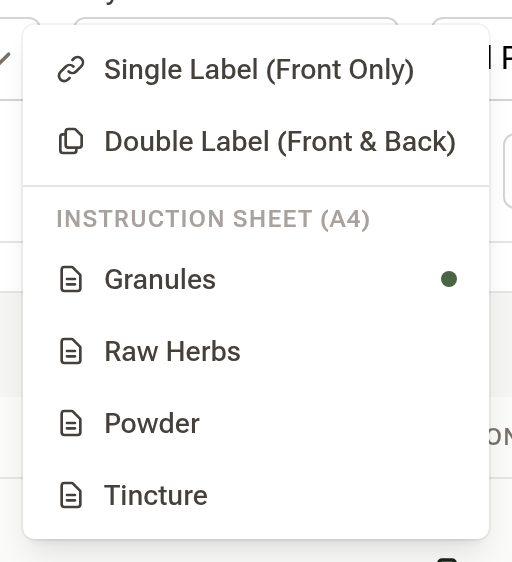
Open any prescription and click Print:
- Single Label (Front Only) — the everyday choice.
- Double Label (Front & Back) — when the script carries more information than fits on one face.
- Instruction Sheet (A4) — not one option but a heading, with a sheet for each material type underneath: Granules, Raw Herbs, Powder and Tincture. The dot marks the type this script actually is, which is the one you'll usually want.
Step 3: Choose which herb names appear
Go to Settings → Communications → Printout Settings.
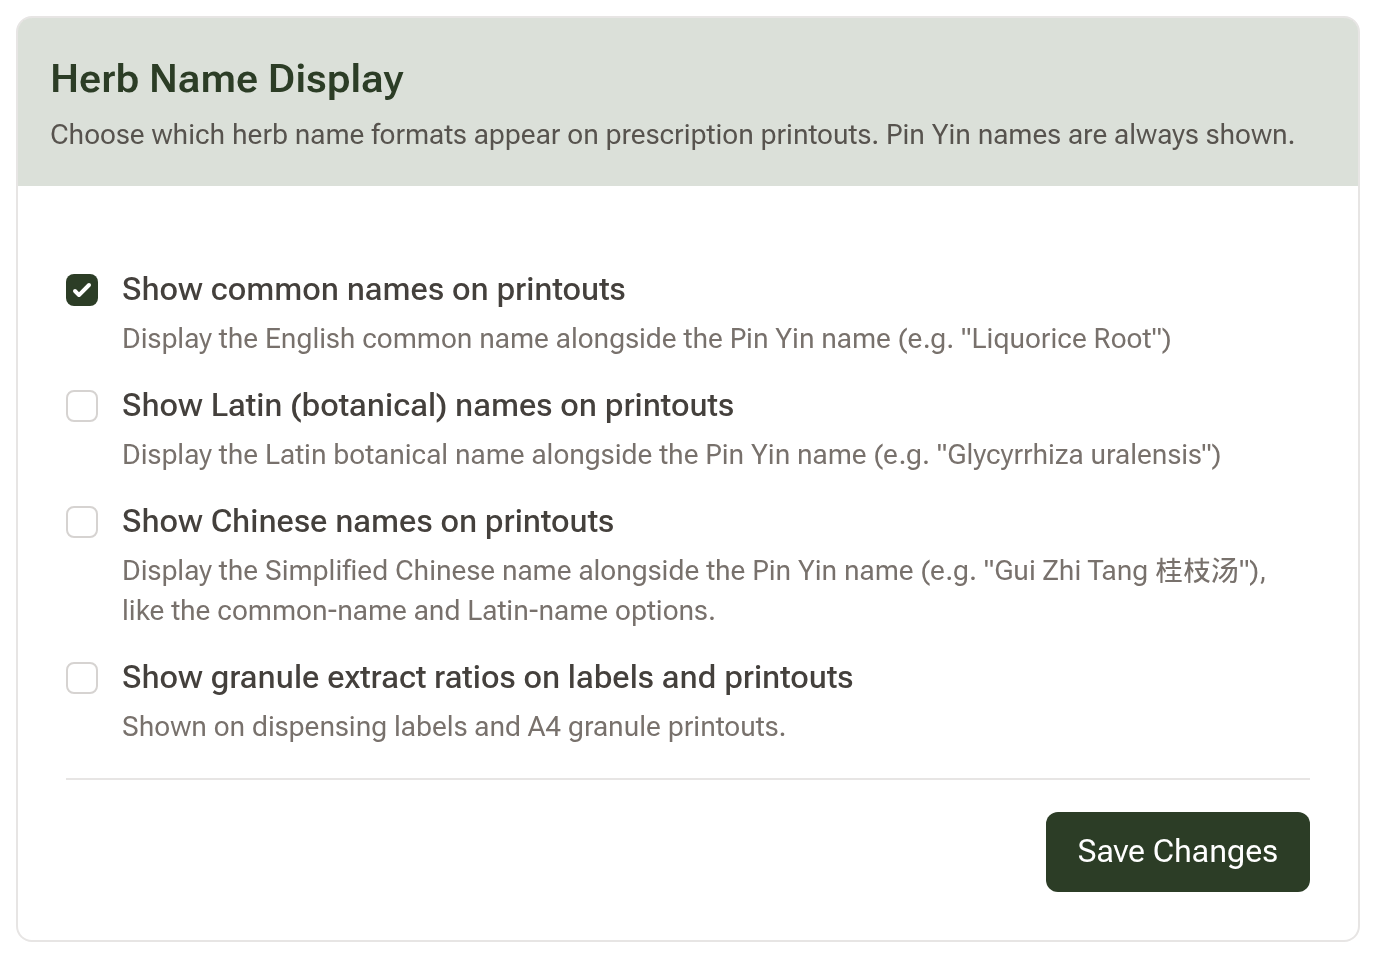
Under Herb Name Display, tick the formats you want on your printouts. Pin Yin names are always shown, and these options add to them:
- Show common names on printouts — the English common name, e.g. "Liquorice Root"
- Show Latin (botanical) names on printouts — e.g. "Glycyrrhiza uralensis"
- Show Chinese names on printouts
- Show granule extract ratios on labels and printouts
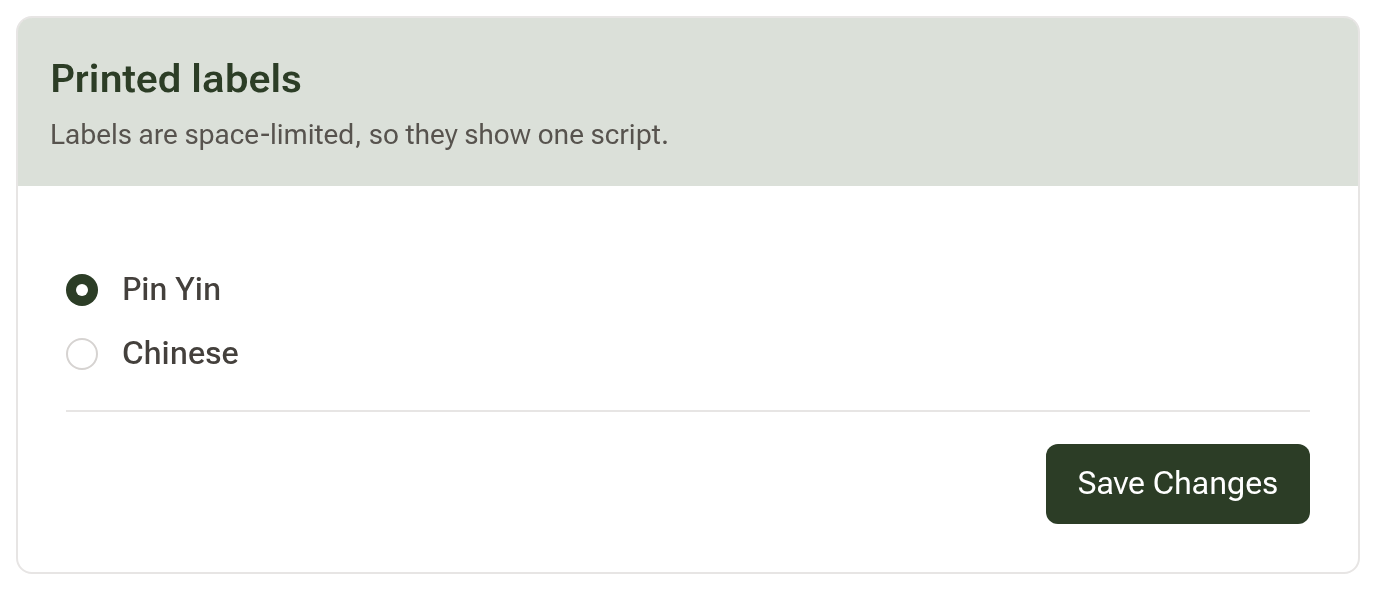
Labels are set separately, just below. A label is space-limited so it carries one script only — under Printed labels, choose either Pin Yin or Chinese. This catches people out: ticking Show Chinese names on printouts above does not put Chinese on the label, because the label has room for one script and this is where you choose it.
Step 4: Edit the preparation instructions
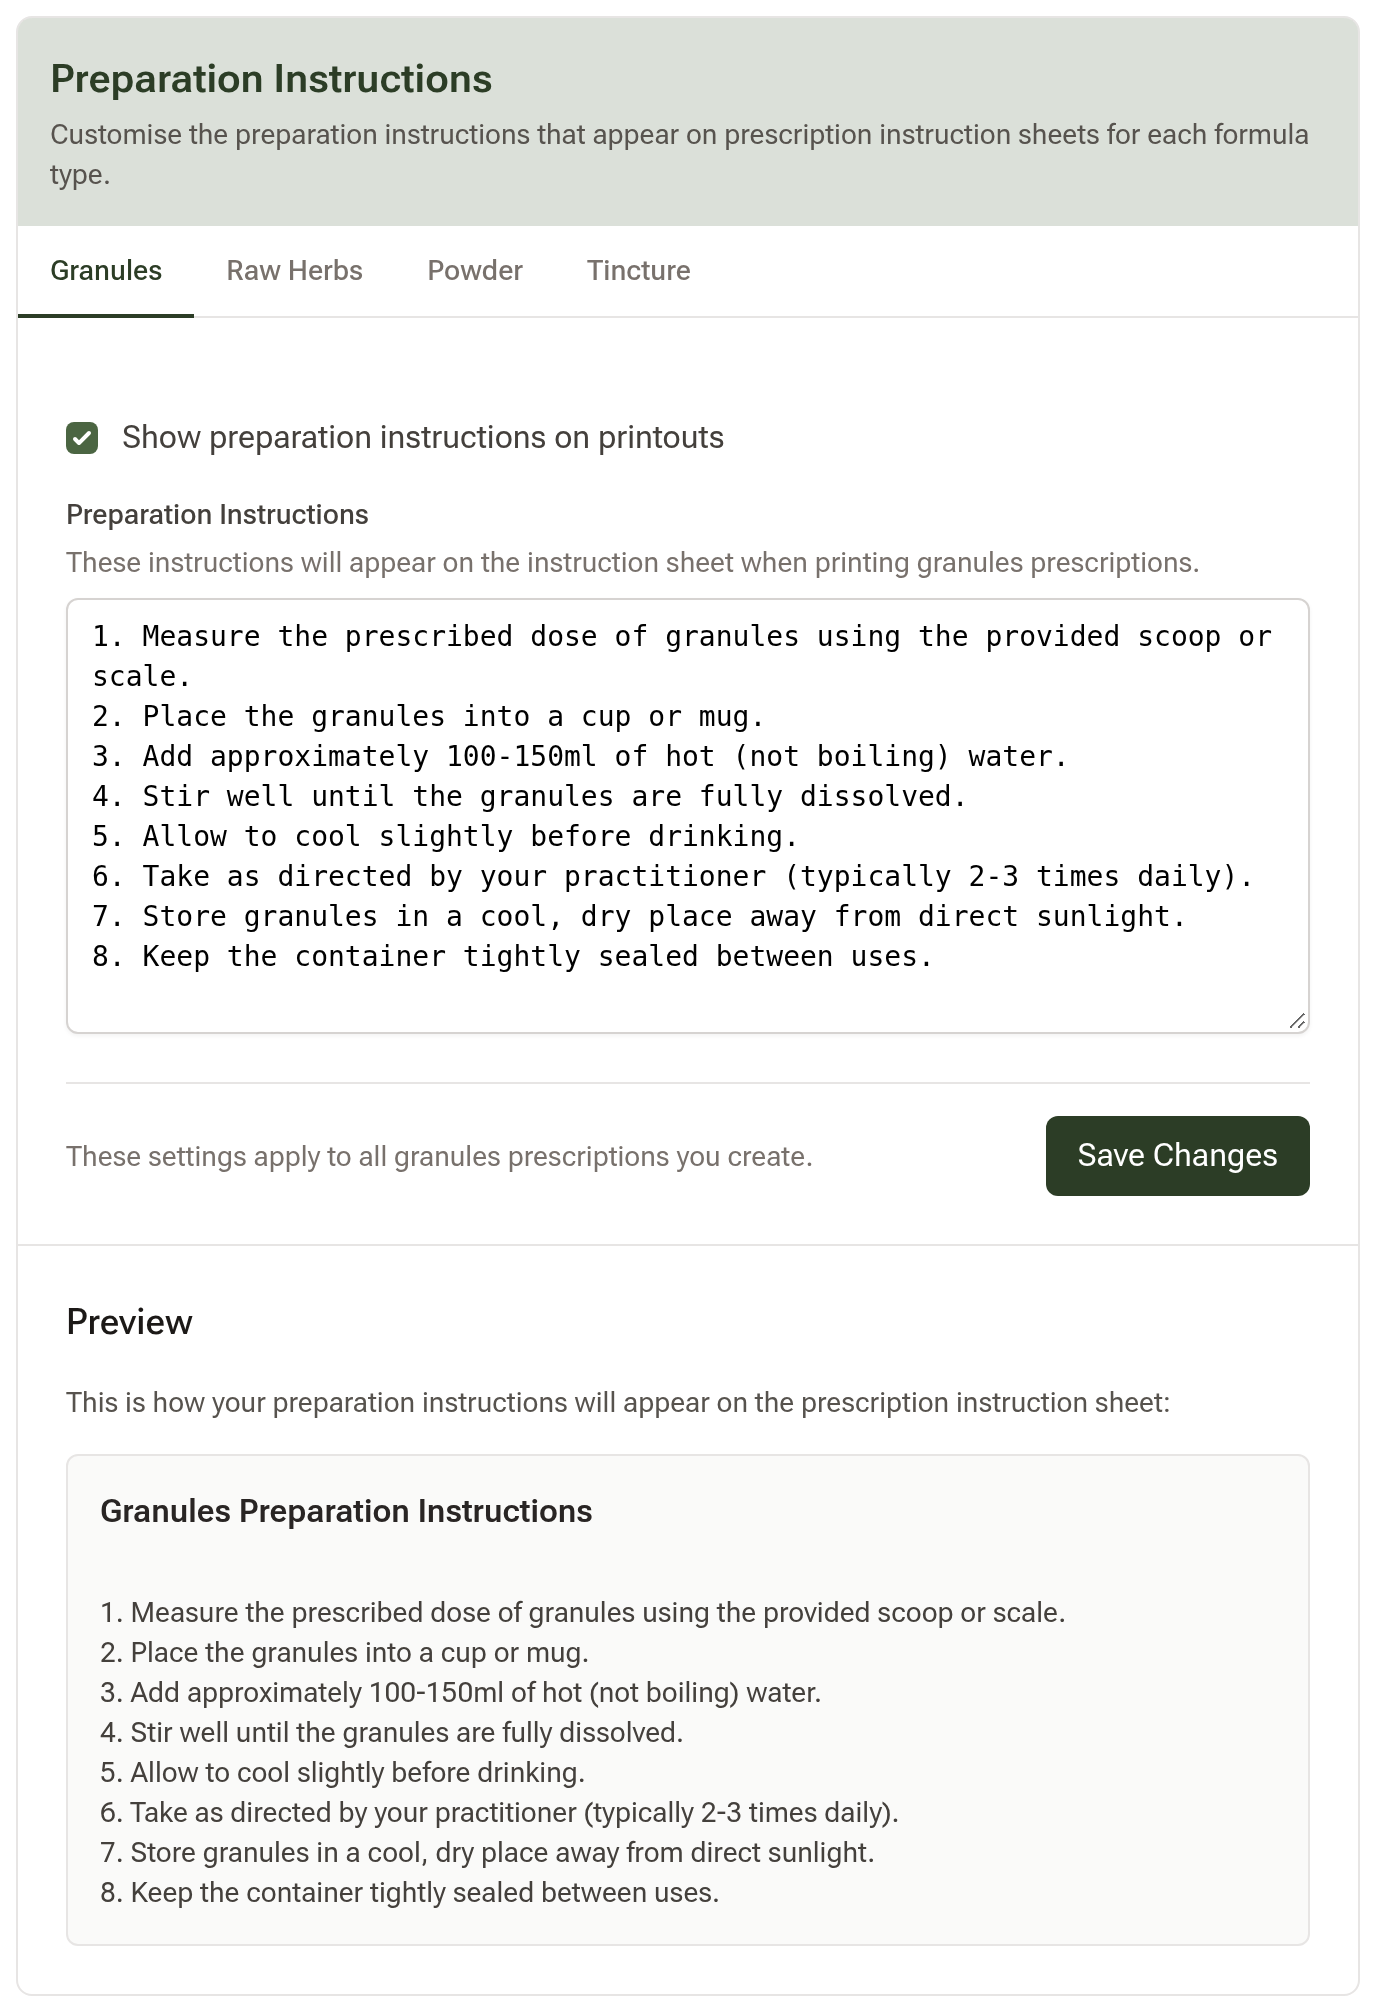
Still in Printout Settings, scroll down to Preparation Instructions.
The tabs across the top are formula types — Granules, Raw Herbs, Powder, Tincture — and each carries its own text. Pick the type you want to change, edit the instructions, and the Preview underneath shows exactly how it will read on the sheet your client receives. Tick Show preparation instructions on printouts to include them, then Save Changes.
Step 5: Add your logo
Go to Settings → Practice Info → Branding.
There are two logo slots. Primary Logo is your colour version, used on your online bookings and the emails you send patients. Print Logo (Optional) is for printed output — upload a black and white version here if you have one, because thermal printers only print black and lighter colours come out faint. If you don't upload one, your primary logo is used instead.
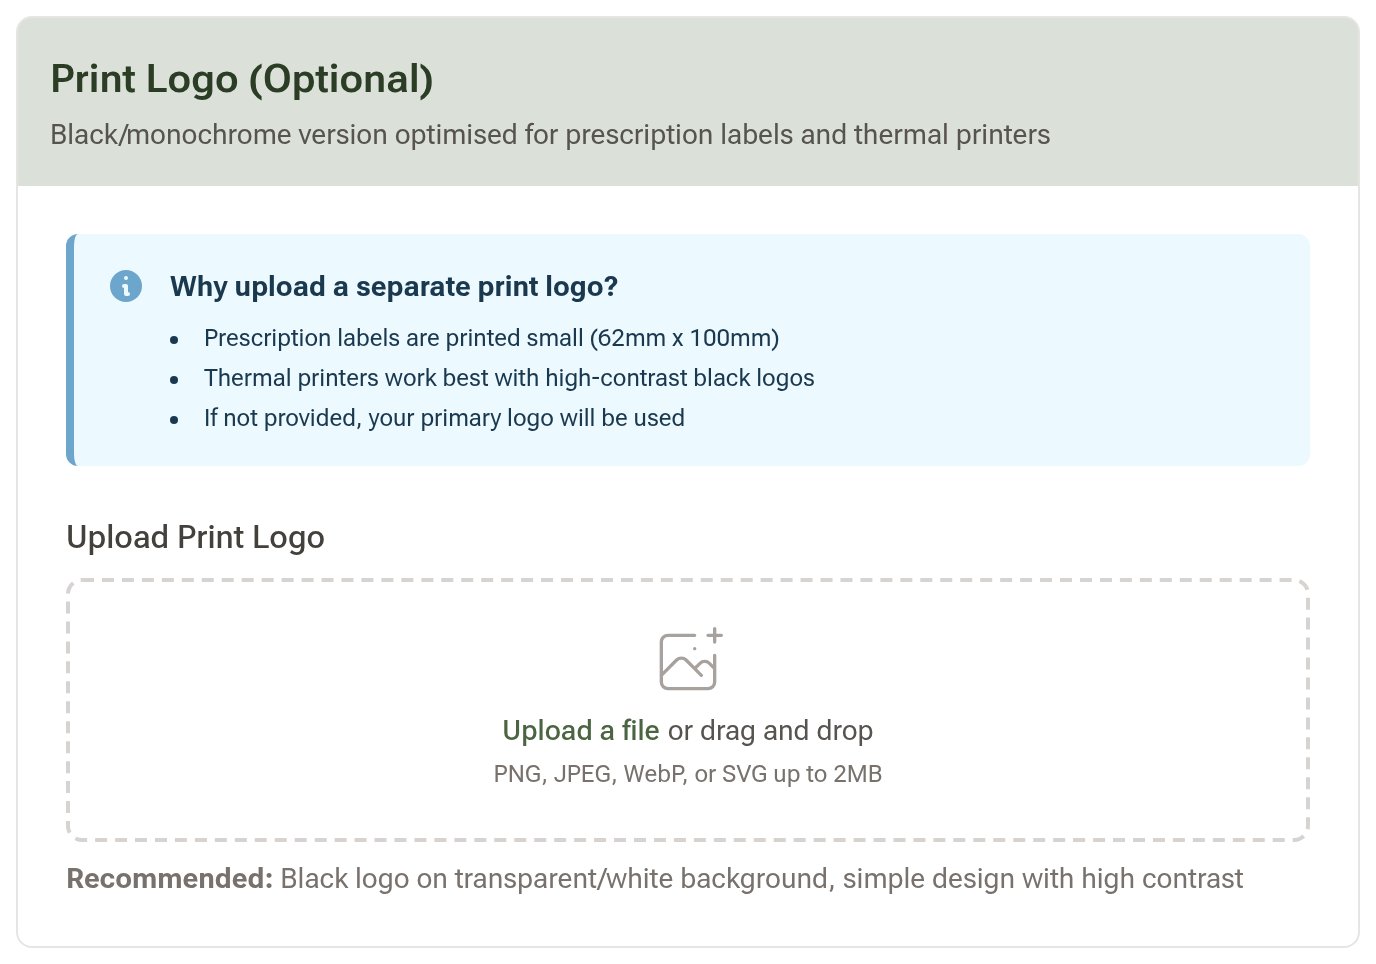
Uploading it doesn't put it anywhere on its own. Scroll to Display Options and tick Show logo on prescription labels and Show logo on herb instruction sheets, then save and print again to see it on both.
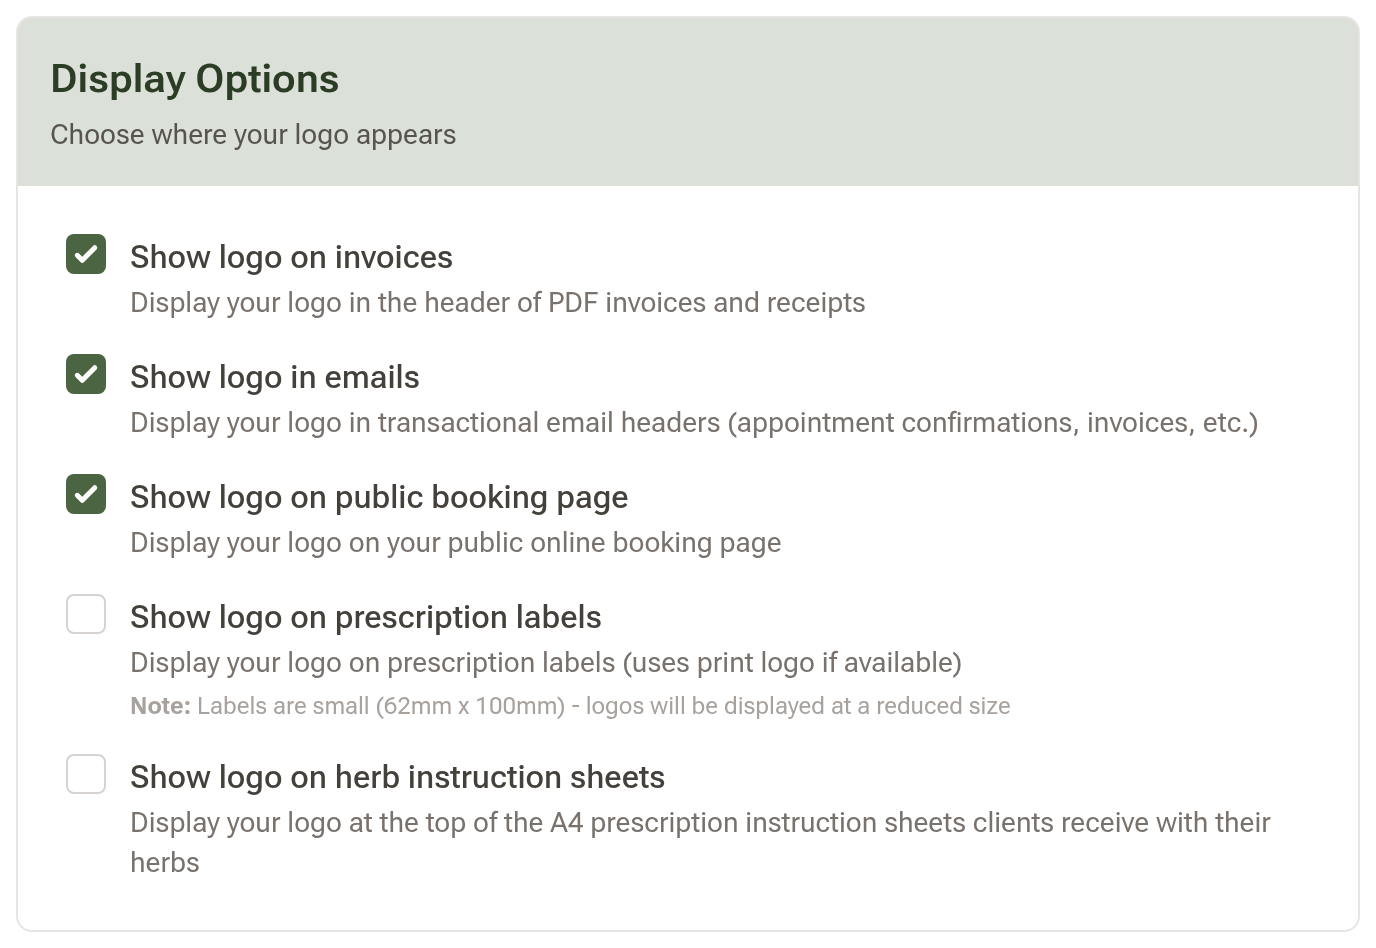
Tip: Labels print at 62mm x 100mm, so your logo appears at a reduced size. A simple, high-contrast mark reads far better than a detailed one.